how to turn a reclaimed window into a metallic picture frame
As an Amazon Associate I earn from qualifying purchases.
 Our friend, Kristen (from Capturing Joy with Kristen Duke), is hosting a fabulous “Decorating with Pictures” series. If you need ideas for incorporating photos into your home decor, this is a great place to start. And our metallic “Picture Window” is even in the mix!
I should probably ‘fess up- when Kristen emailed about Decorating with Pictures, I glanced around the house we’d just moved into with not one single thing hanging on the walls and thought, “Maybe this series will motivate me to hang something up in our very-blank space.”

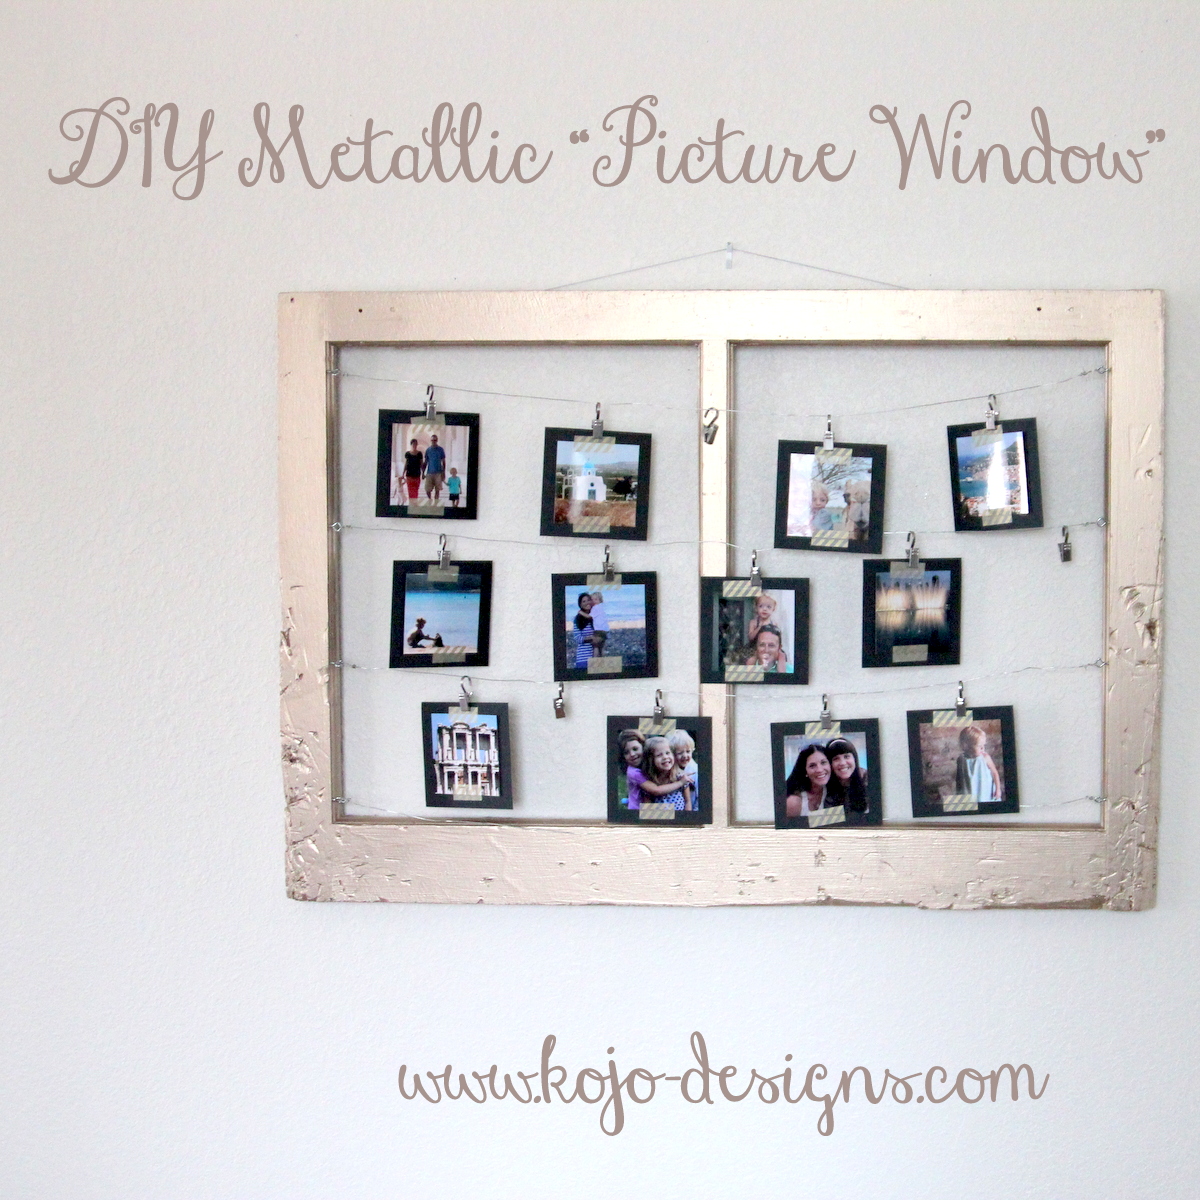 And here we are, a few months later, and this “Picture Window” is the first decor I’ve hung on the walls (in my defense, we’ve been a little busy tearing down walls and remodeling the kitchen).
As I was thinking through potential projects, my only criteria was that the decor include easily update-able pictures. Honestly, I have a hard time incorporating pictures into my decor. In my ideal world, I’d put up pictures and then update periodically so that all of the pictures aren’t from That One Vacation in 2007. But I’m an onto-the-next kind of girl and don’t ever actually update.
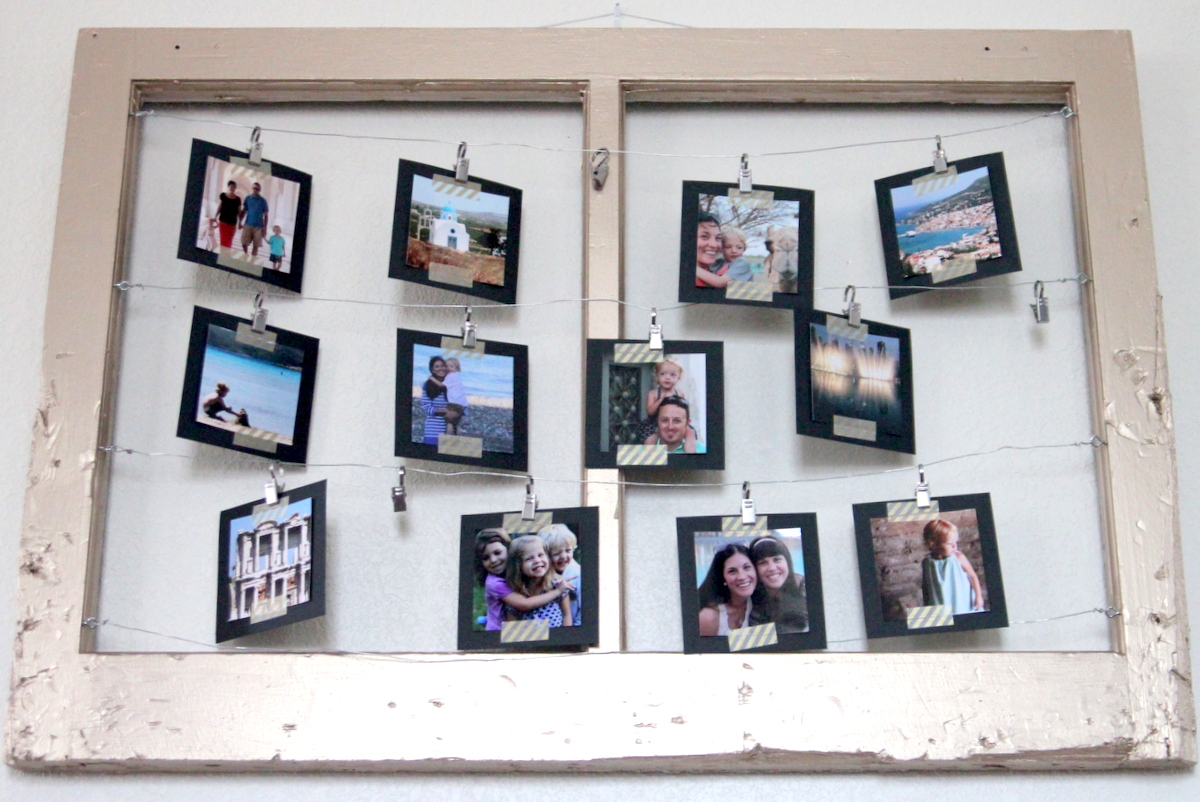 That’s why this Picture Window is working for me. The casual, clothesline-of-snapshots (that are hanging on hooks, not behind glass in frames) seems like something I might actually be able to stay on top of and keep updated.
Don’t you want to make one too? You’ll need-
-an old window, any style you like (I found this one at an architectural salvage store for $10)
-wires and eye hooks, the same width as the window openings
-metallic paint, optional (I used some Martha Stewart paint that I found at Home Depot- I think ‘vintage gold’ is the color)
-black cardstock
-photos
 First paint your window (if necessary). We’d previously used this window (made coral) in Piper Jane’s nursery, but since she and my son Burke share a room now, it doesn’t work in her new space. I primed the window and then added the metallic paint. Add eye hooks and wires along the edges of the frame.
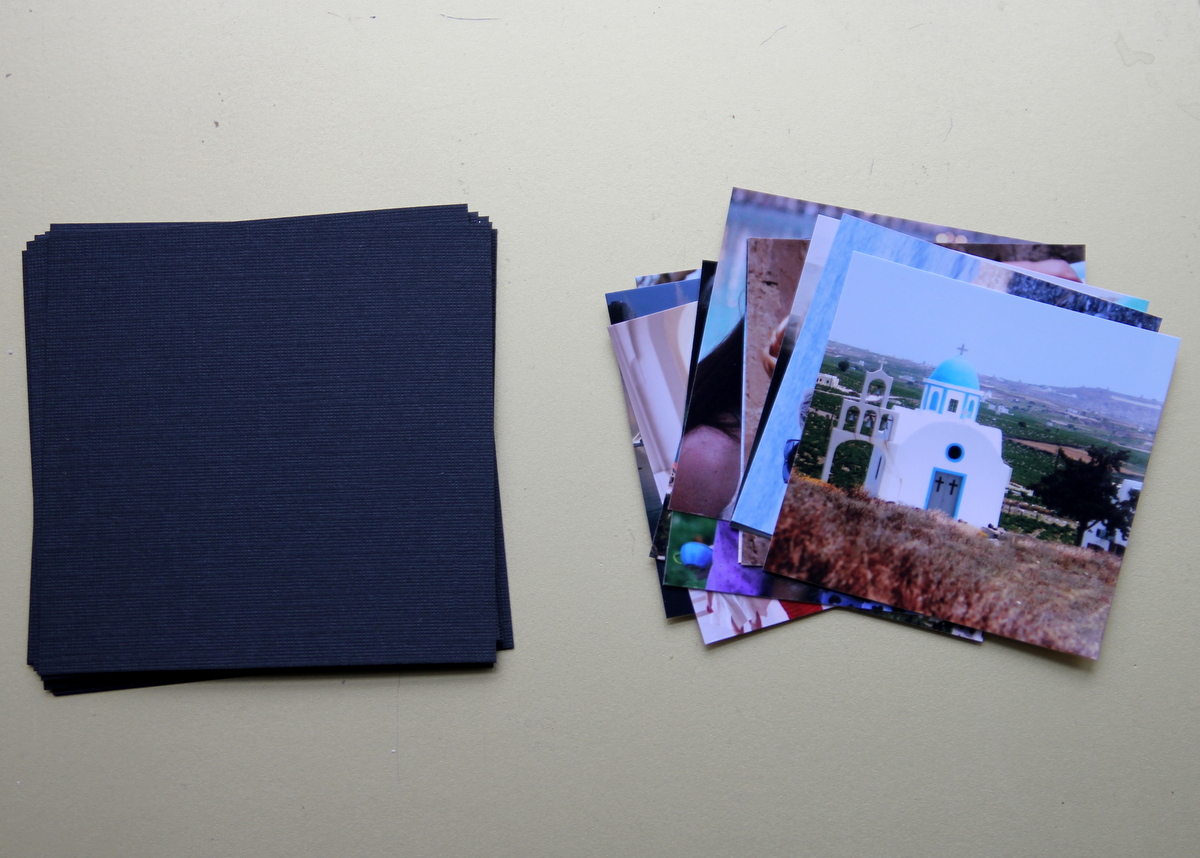 Next cut a whole stack of 4″x4″ squares from black cardstock. Also, cut your photos into 3″x3″ squares.
 Cut a whole batch of coordinating washi tape.
 Tape the photos in place, in the center of each cardstock square.
 Clip the mounted pictures onto hooks, hang the hooks on the wires, and you’re done!
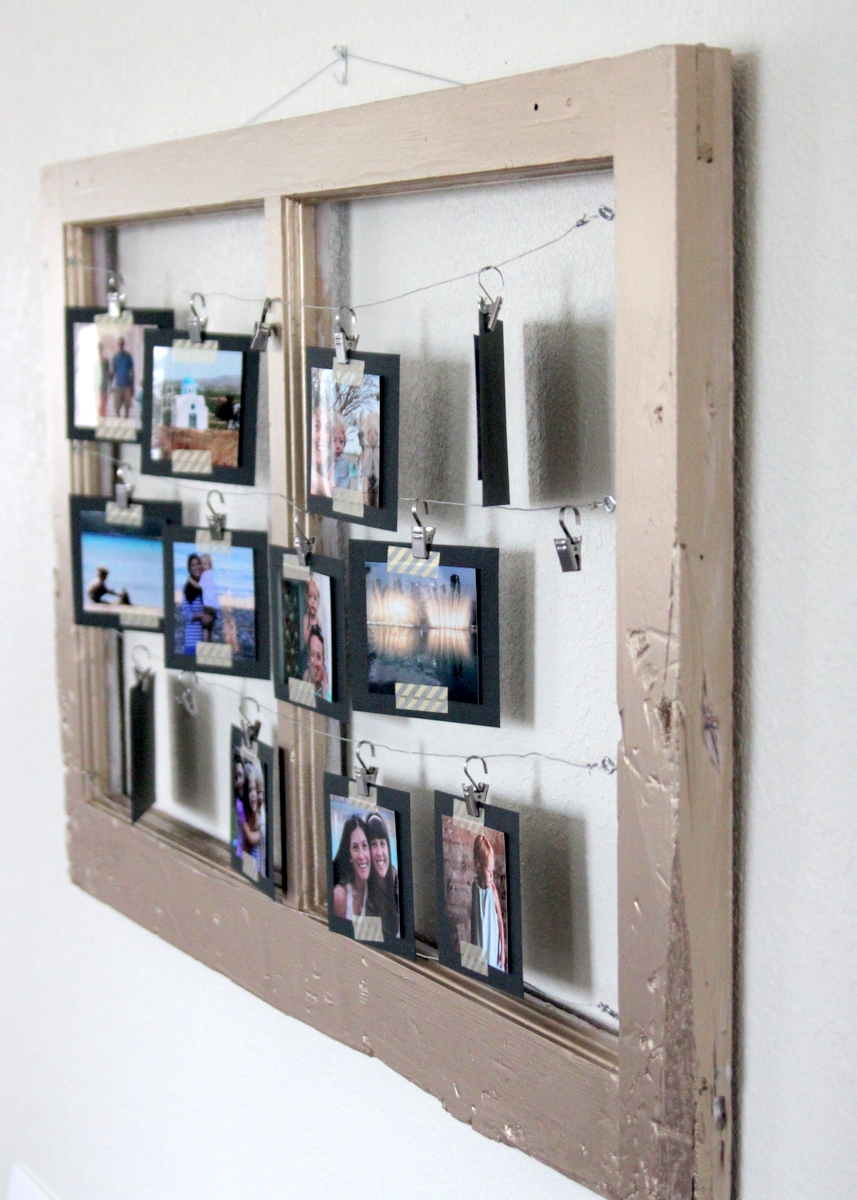 One easily changeable photo display perfect for customizing your space.
Now that I have one thing hanging on the walls, I’m excited to tackle some other decor-ish projects! Are you working on anything for your home?

 |
 |
 |
 |



Just lovely Kirsten! I really like how you can easily change out or rearrange the pictures at will.
Thanks friend! I was just thinking today that I might try white backdrops instead of black…
And YES the switchability, definitely the best part. 🙂
Thank you so much for this post as you just gave me a brilliant idea for re-purposing a window frame similar to the one you show above. It’s been sitting in closet for years because I wasn’t sure what to do with it until now! 🙂
Custom Furniture
http://4-chairs.com/
Love that Cassidy! 🙂
I real thankful to find this site on bing, just what I was looking for 😀 besides bookmarked.
You need to be a part of a contest for one of the greatest sites on the internet.
I most certainly will highly recommend this site!
Helⅼο tһere, Yoս have done a fantastic job.
Ӏ’ll definitely digg іt and personally sugցest to my friends.
I am confident they will Ƅe benefited from tһіs website.
Thanks for finally writing about >how to turn a reclaimed window into a metallic picture
frame <Loved it!