guest tutorial from gwenny penny- felt kite
As an Amazon Associate I earn from qualifying purchases.
We have a ton in common with today’s fabulous guest, Gwen! She shares our tendency to hoard pretty fabric and paper, she also loves cleaning and organizing, our kiddos are the same age, she shares our affection for ROY G BIV order (and the beach!!!)… and she has fantastic ideas! A few of our favorites? Her Land of Nod wall art knock off, her fabulous fall scrap buster pillow and this felt dot pillow. We’re beyond thrilled that she’s here with us today!
Hey, everybody! I’m Gwen from Gwenny Penny, and I am so thrilled to be here with you today as part of Kirstin and Jordan’s Spring DeStash! I knew my destash project would have to involve either felt or fat quarters because those are the two things I can’t buy enough of and will never ever run out of. While I was brainstorming project ideas, my three year old daughter started talking to me about kites. She learned to fly a kite on a recent vacation, and now she can’t get enough of them. Couple her new obsession with my plethora of felt, and I give you…
This kite can be hung on the wall in a child’s bedroom or a playroom, or you can hang it from the ceiling like I did in my daughter’s room…
Doesn’t it look awesome? She absolutely loves it, and it’s really easy to make. Let’s get started!
Materials:
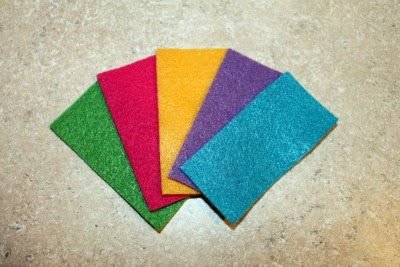
- felt (I used five different 9″ x 12″ felt sheets.)
- dowels (I used three 12″ long, 3/16″ diameter dowels.)
- cotton piping cord – 1 yard (I have no idea what size I used. I found this in the bottom of a basket in my sewing closet. There are lots of options for the kite tail… use whatever suits your style.)
- coordinating thread
- glue gun
These instructions are for creating a kite that is 12″ wide by 24″ long, excluding the tail (It’s about 5′ long with the tail). All seam allowances are 1/4″.
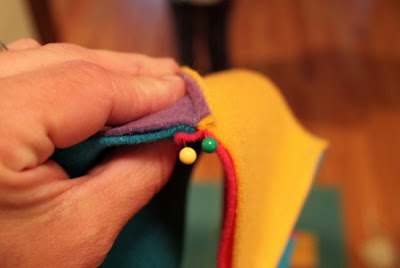
Now, pin the third column to the second column with right sides together, again being careful to match up the seams. Sew down the entire length of the columns.
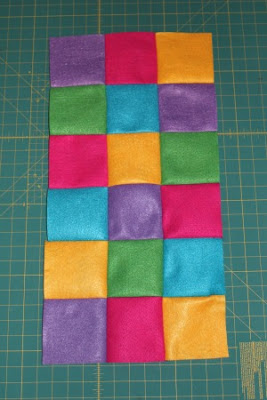
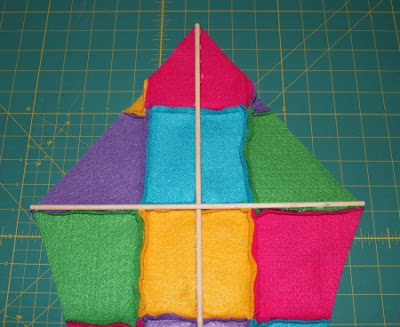
You now have this lovely felt patchwork to work with…
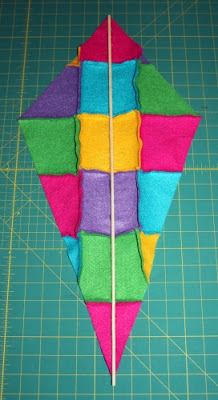
But first… Since I only had 12″ long dowels in my stash, and I needed a 24″ dowel for the length of the kite, I needed to do a little work with my dowels. I broke out the Gorilla Glue and some heavy duty packing tape. I glued two 12″ dowels together end to end. Once that dried I wrapped it with a piece of packing tape for extra stability. You’ll never see it when it’s hanging up.
So by now you may have noticed that you didn’t really need the bottom felt squares from columns one and three. No worries… you can use those later for the bows on the kite tail.
Now for the tail… Take your yard of piping cord, overlap one end of the cord and the bottom of the vertical dowel by about 2″ and glue them together on the back of the kite.
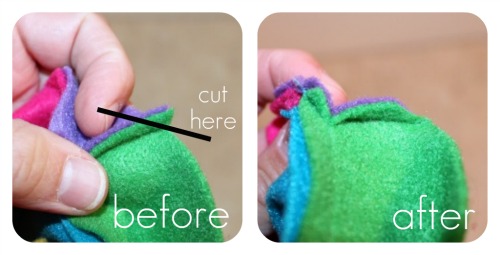
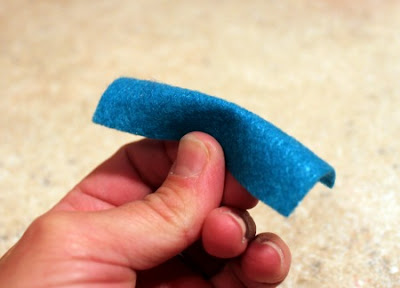
Once all five bows are made, decide how you want to space them out on your cord, then grab your glue gun and attach them to the cord.
Again, go say hi to Gwen and check out her lovely blog! Give yourself some time to peruse, though- it’s a great place to get lost.









Thank you so much for having me here today, Kirstin and Jordan!
Awwwww, I love that!!! I want to make one for myself 🙂
My boys would love this! Great job on your kite creation, Gwen!! You got me itching for spring. 🙂
I absolutely love kites, especially as decor in kids' rooms and playrooms. I have never considered felt for one – this is great! and the bows are so cute!