how to make the best decorated sugar cookies
As an Amazon Associate I earn from qualifying purchases.
 (how to make the BEST decorated sugar cookies- tips from a pro!)
I love this time of the year, with all of the holiday things on the horizon- thanksgiving hostessing, favorite food making, Christmas gift brainstorming, advent planning, and so much treat baking. One of Jordan’s family’s Christmas traditions is sugar cookie making and decorating, and y’all, SHE IS SO GOOD AT SUGAR COOKIES!
 Every year I see all her fancy, gorgeously decorated sugar cookies and think about how they’d make such great teacher gifts or be the perfect Cookie Exchange offering… and also, I just love sugar cookies. Because SO YUMMY.
 This year, I’ve recruited Jordan to share her sugar cookie tips with me/us! (When you see my instagram with perfect sugar cookies in a few weeks, you’ll know exactly how that happened this year).
4 steps to gorgeous sugar cookies-
- Use the perfect sugar cookie recipe.
This is my tried and true recipe (pro tip- keep the dough cold by working in small batches!)INGREDIENTS1 cup butter1 cup sugar
1 egg
1 tsp. baking powder
2 T. orange juice
1 tsp. vanilla
2 1/2 cups flour
DIRECTIONS- Mix first 6 ingredients with a hand mixer or kitchenaid/stand mixer. Add the flour in gradually, giving it time to incorporate. Turn out the dough onto a surface and shape into a ball. Cut the ball into 2 even pieces and re-roll into balls. Put each piece into separate plastic bags and flatten each ball slightly.
Chill the dough in the fridge for 2 or 3 hours.
Take out one dough ball and roll it out on floured board until 1/4 inches thick. Cut into desired shapes and bake on an ungreased cookie sheet at 400 for approximately 6-8 minutes. Repeat with the second dough ball. Let cookies cool completely
- Use the perfect icing recipe(s). What are decorated sugar cookies without the icing? And, actually, I have two sugar cookie icing recipes that I use regularly. The first is a glaze icing (recipe below) and its main pros are that it is user friendly and tastes great.SUGAR COOKIE GLAZE ICING RECIPE (this icing recipe from Our Best Bites is easy to use and holds up well)3 1/2 cups powdered sugar (I used about 3 3/4 C)
6 tablespoons milk
6 tablespoons Karo Syrup (the light kind)
1 teaspoon almond extract or vanillaDIRECTIONS- Whisk together sugar and milk until smooth, then add in Karo syrup and extract, until it is a bit thicker than glue. Separate into bowls and add desired colors.The second icing recipe I use is a traditional royal icing recipe. The main pro of that icing is that it is less runny, has a matte finish and looks more professional. The biggest con is that its a lot harder to use. BUT if you’re looking for that professional sugar cookie finish, its the one to use. I tend to use the glaze more because its easier for the kids to use and everyone likes the taste better.
- Mise En Place-
 This is a French culinary phrase which means “putting in place” or “everything in its place.” For perfect sugar cookie making, having everything together helps SO much in this process. I am a messy cook, but this is a step I don’t miss in cookie decorating.
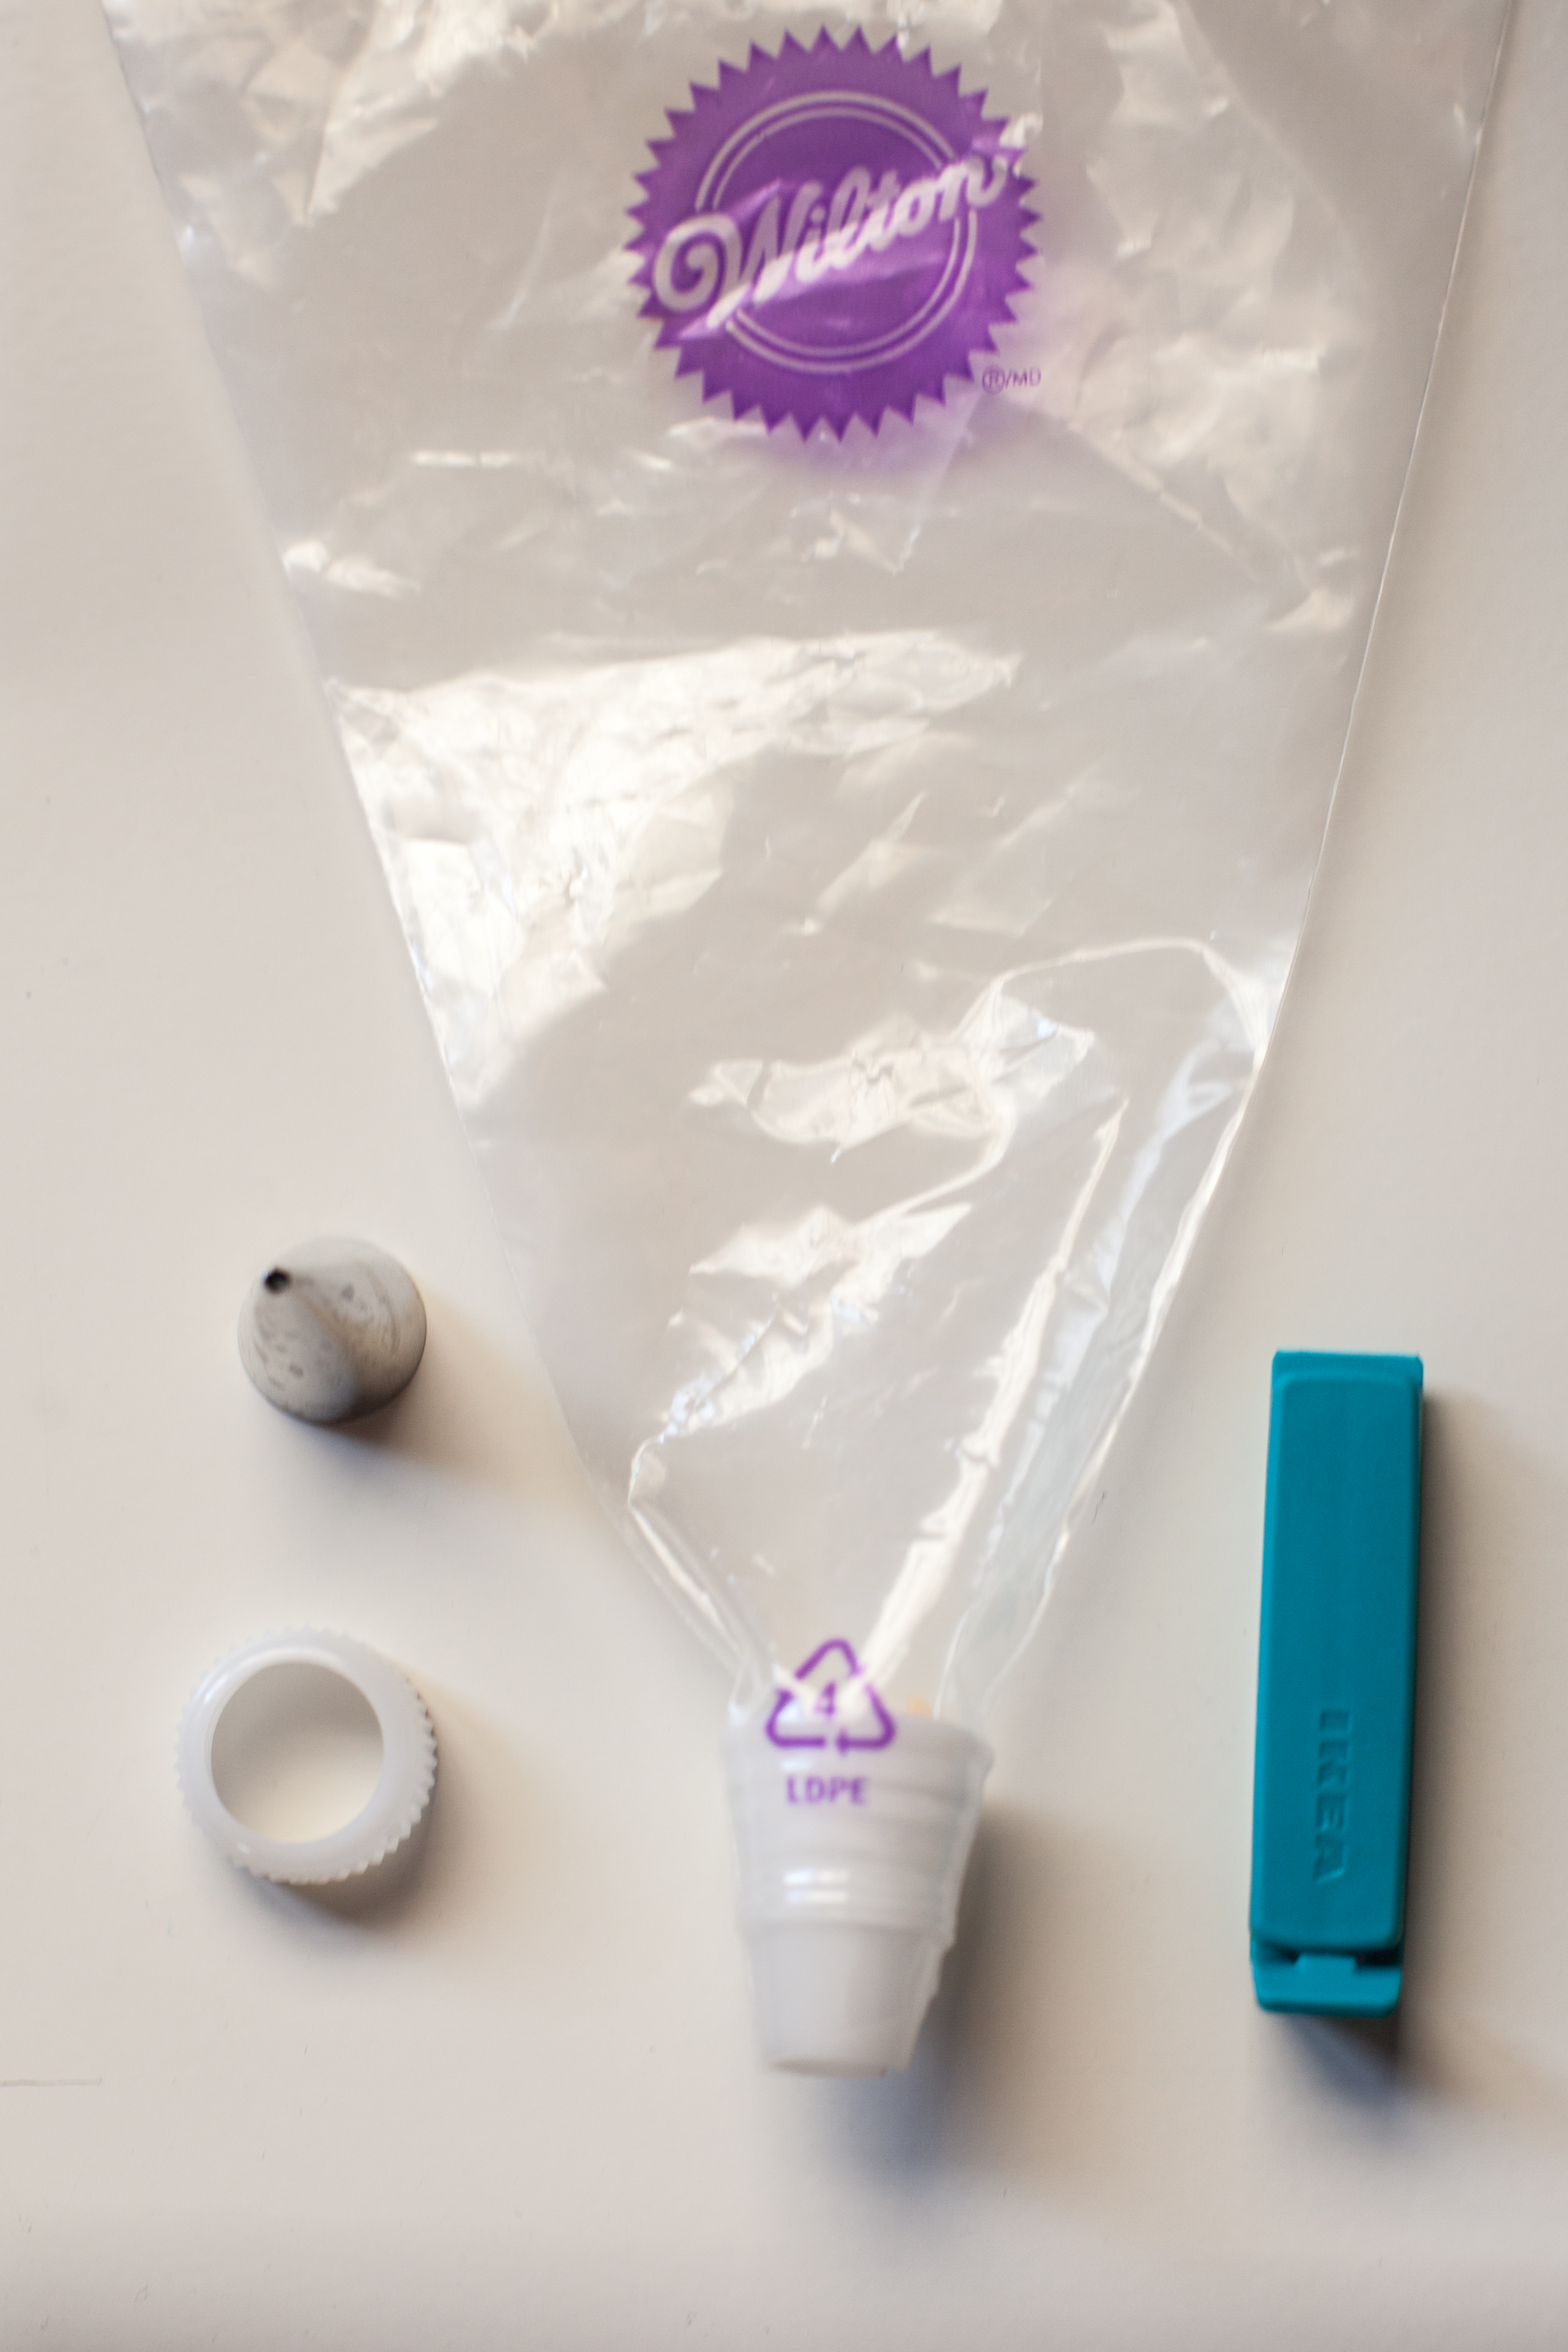
- I use wilton bags with couplers so that I can change the tip size on my bags, but also because the tip just stays in place better with the coupler.
- I use tip size 2 as my standard, but have a 1 for small details and a 3 for bigger decorations.
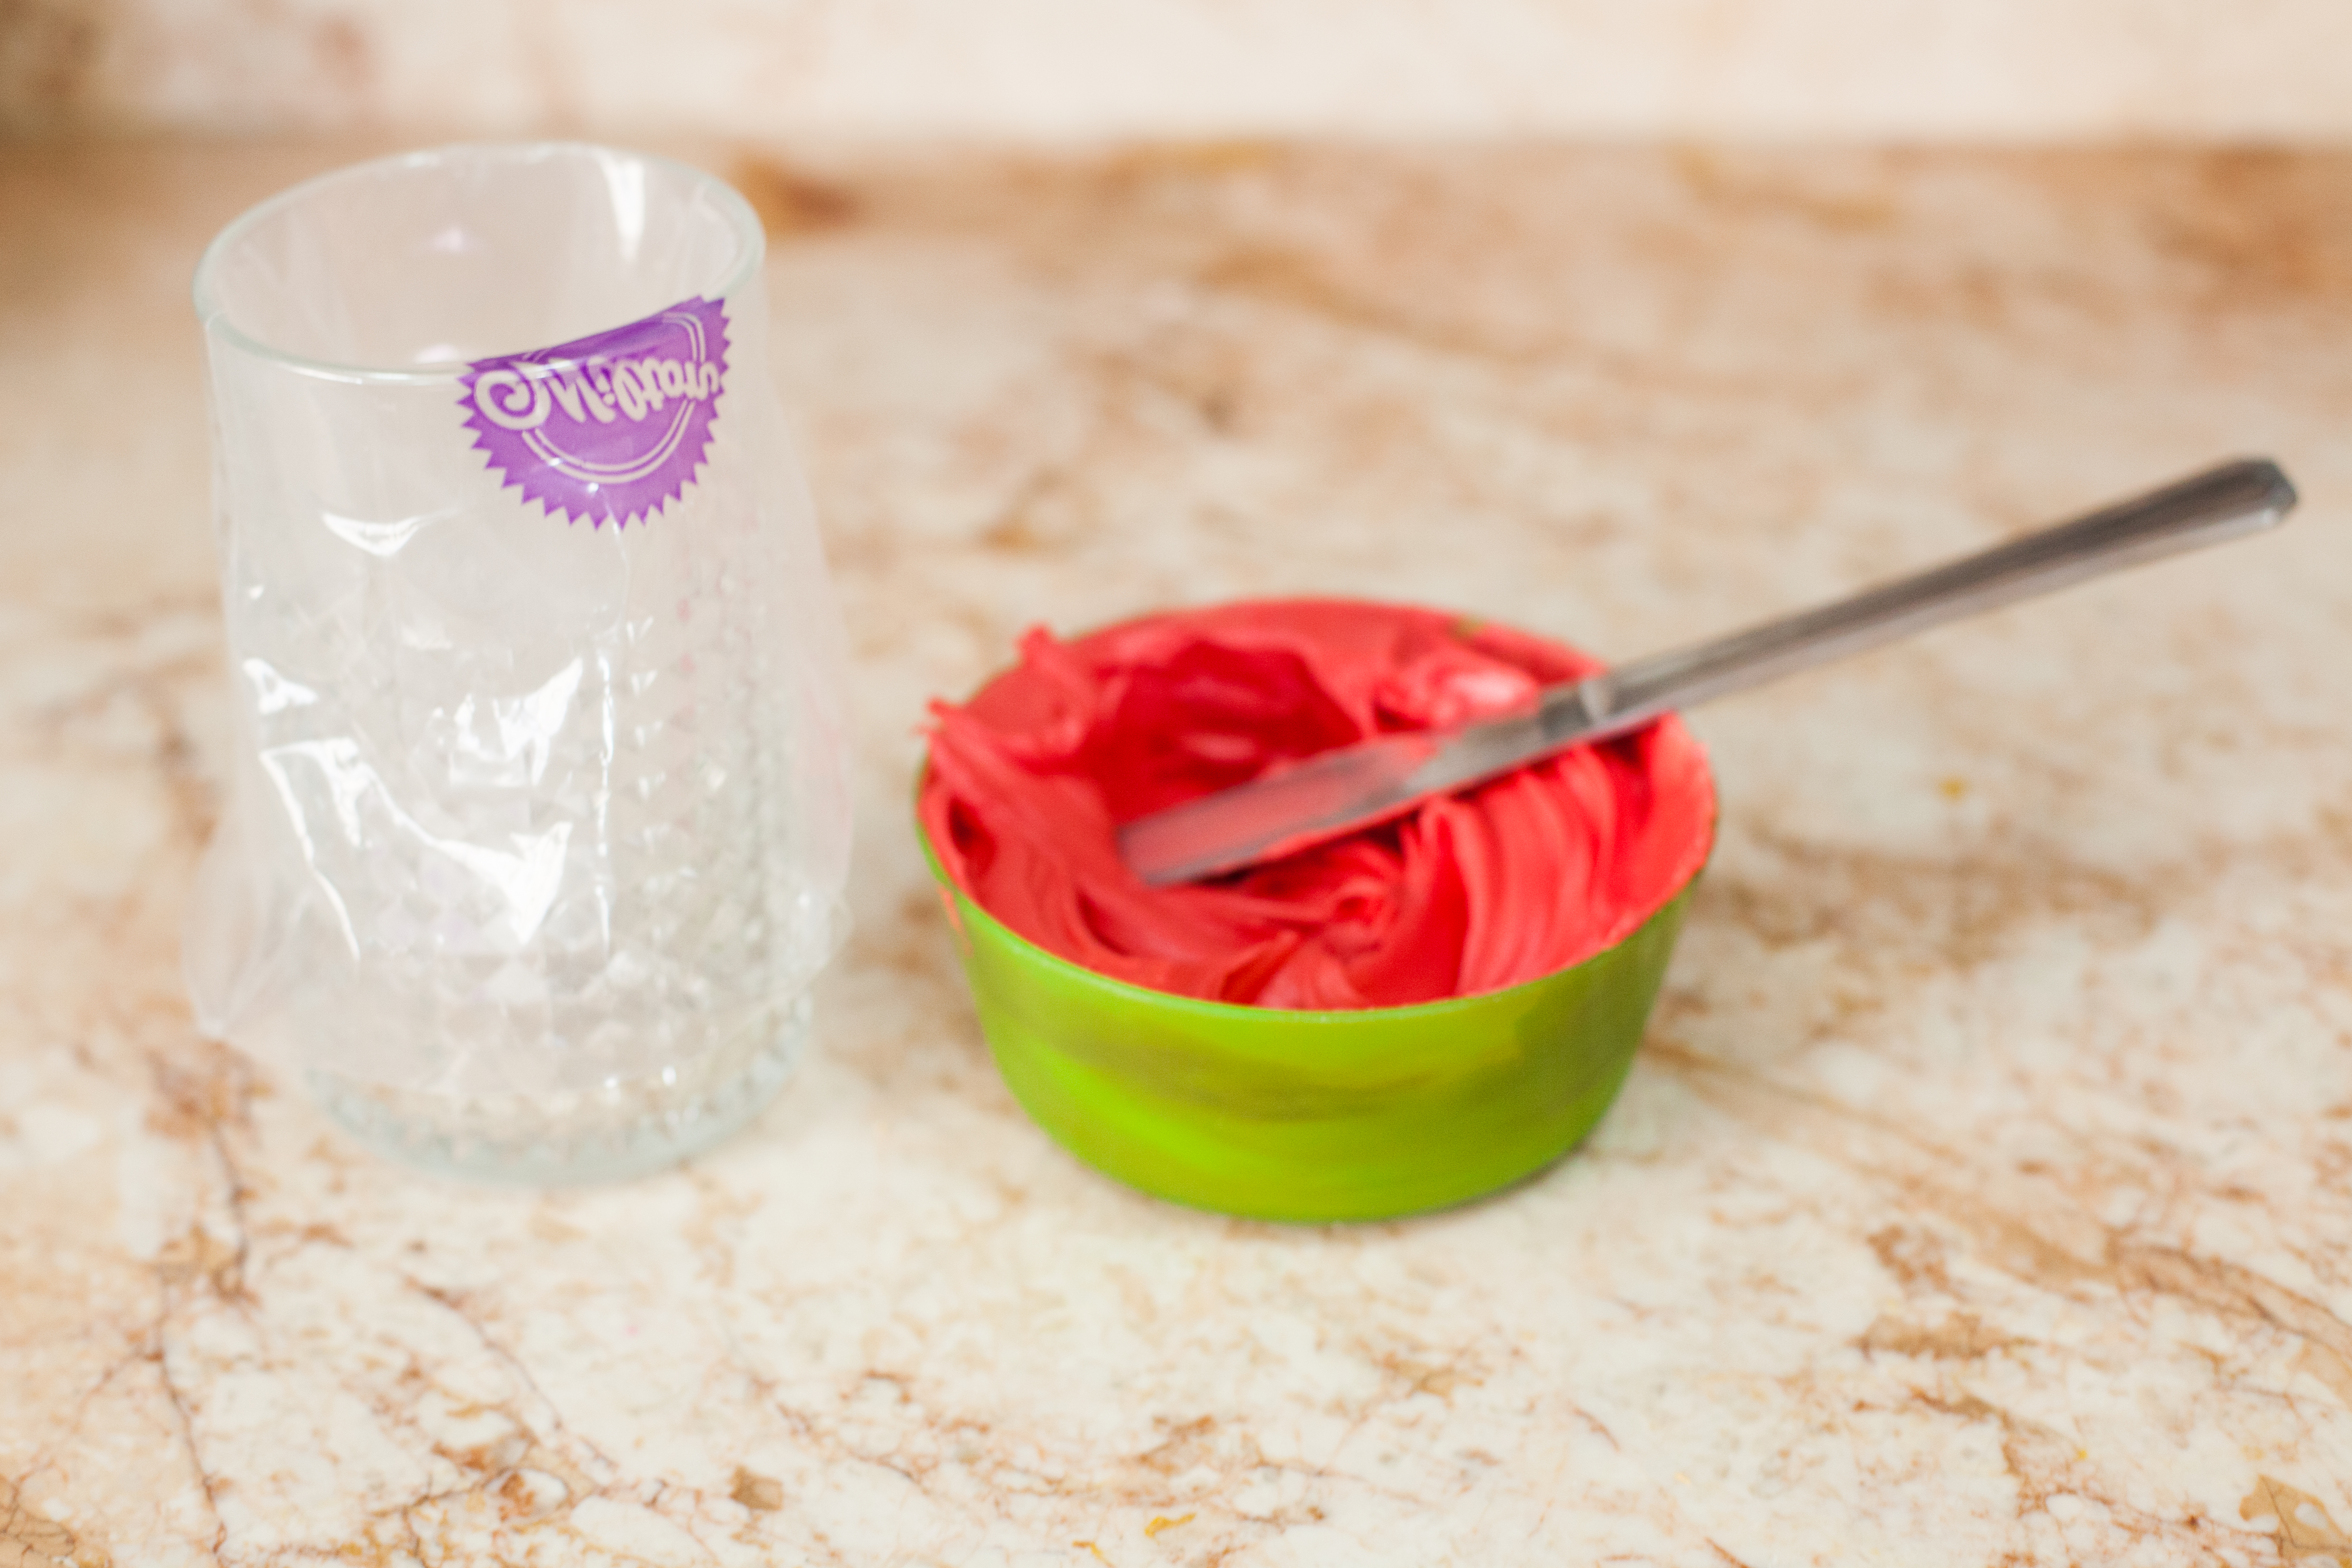
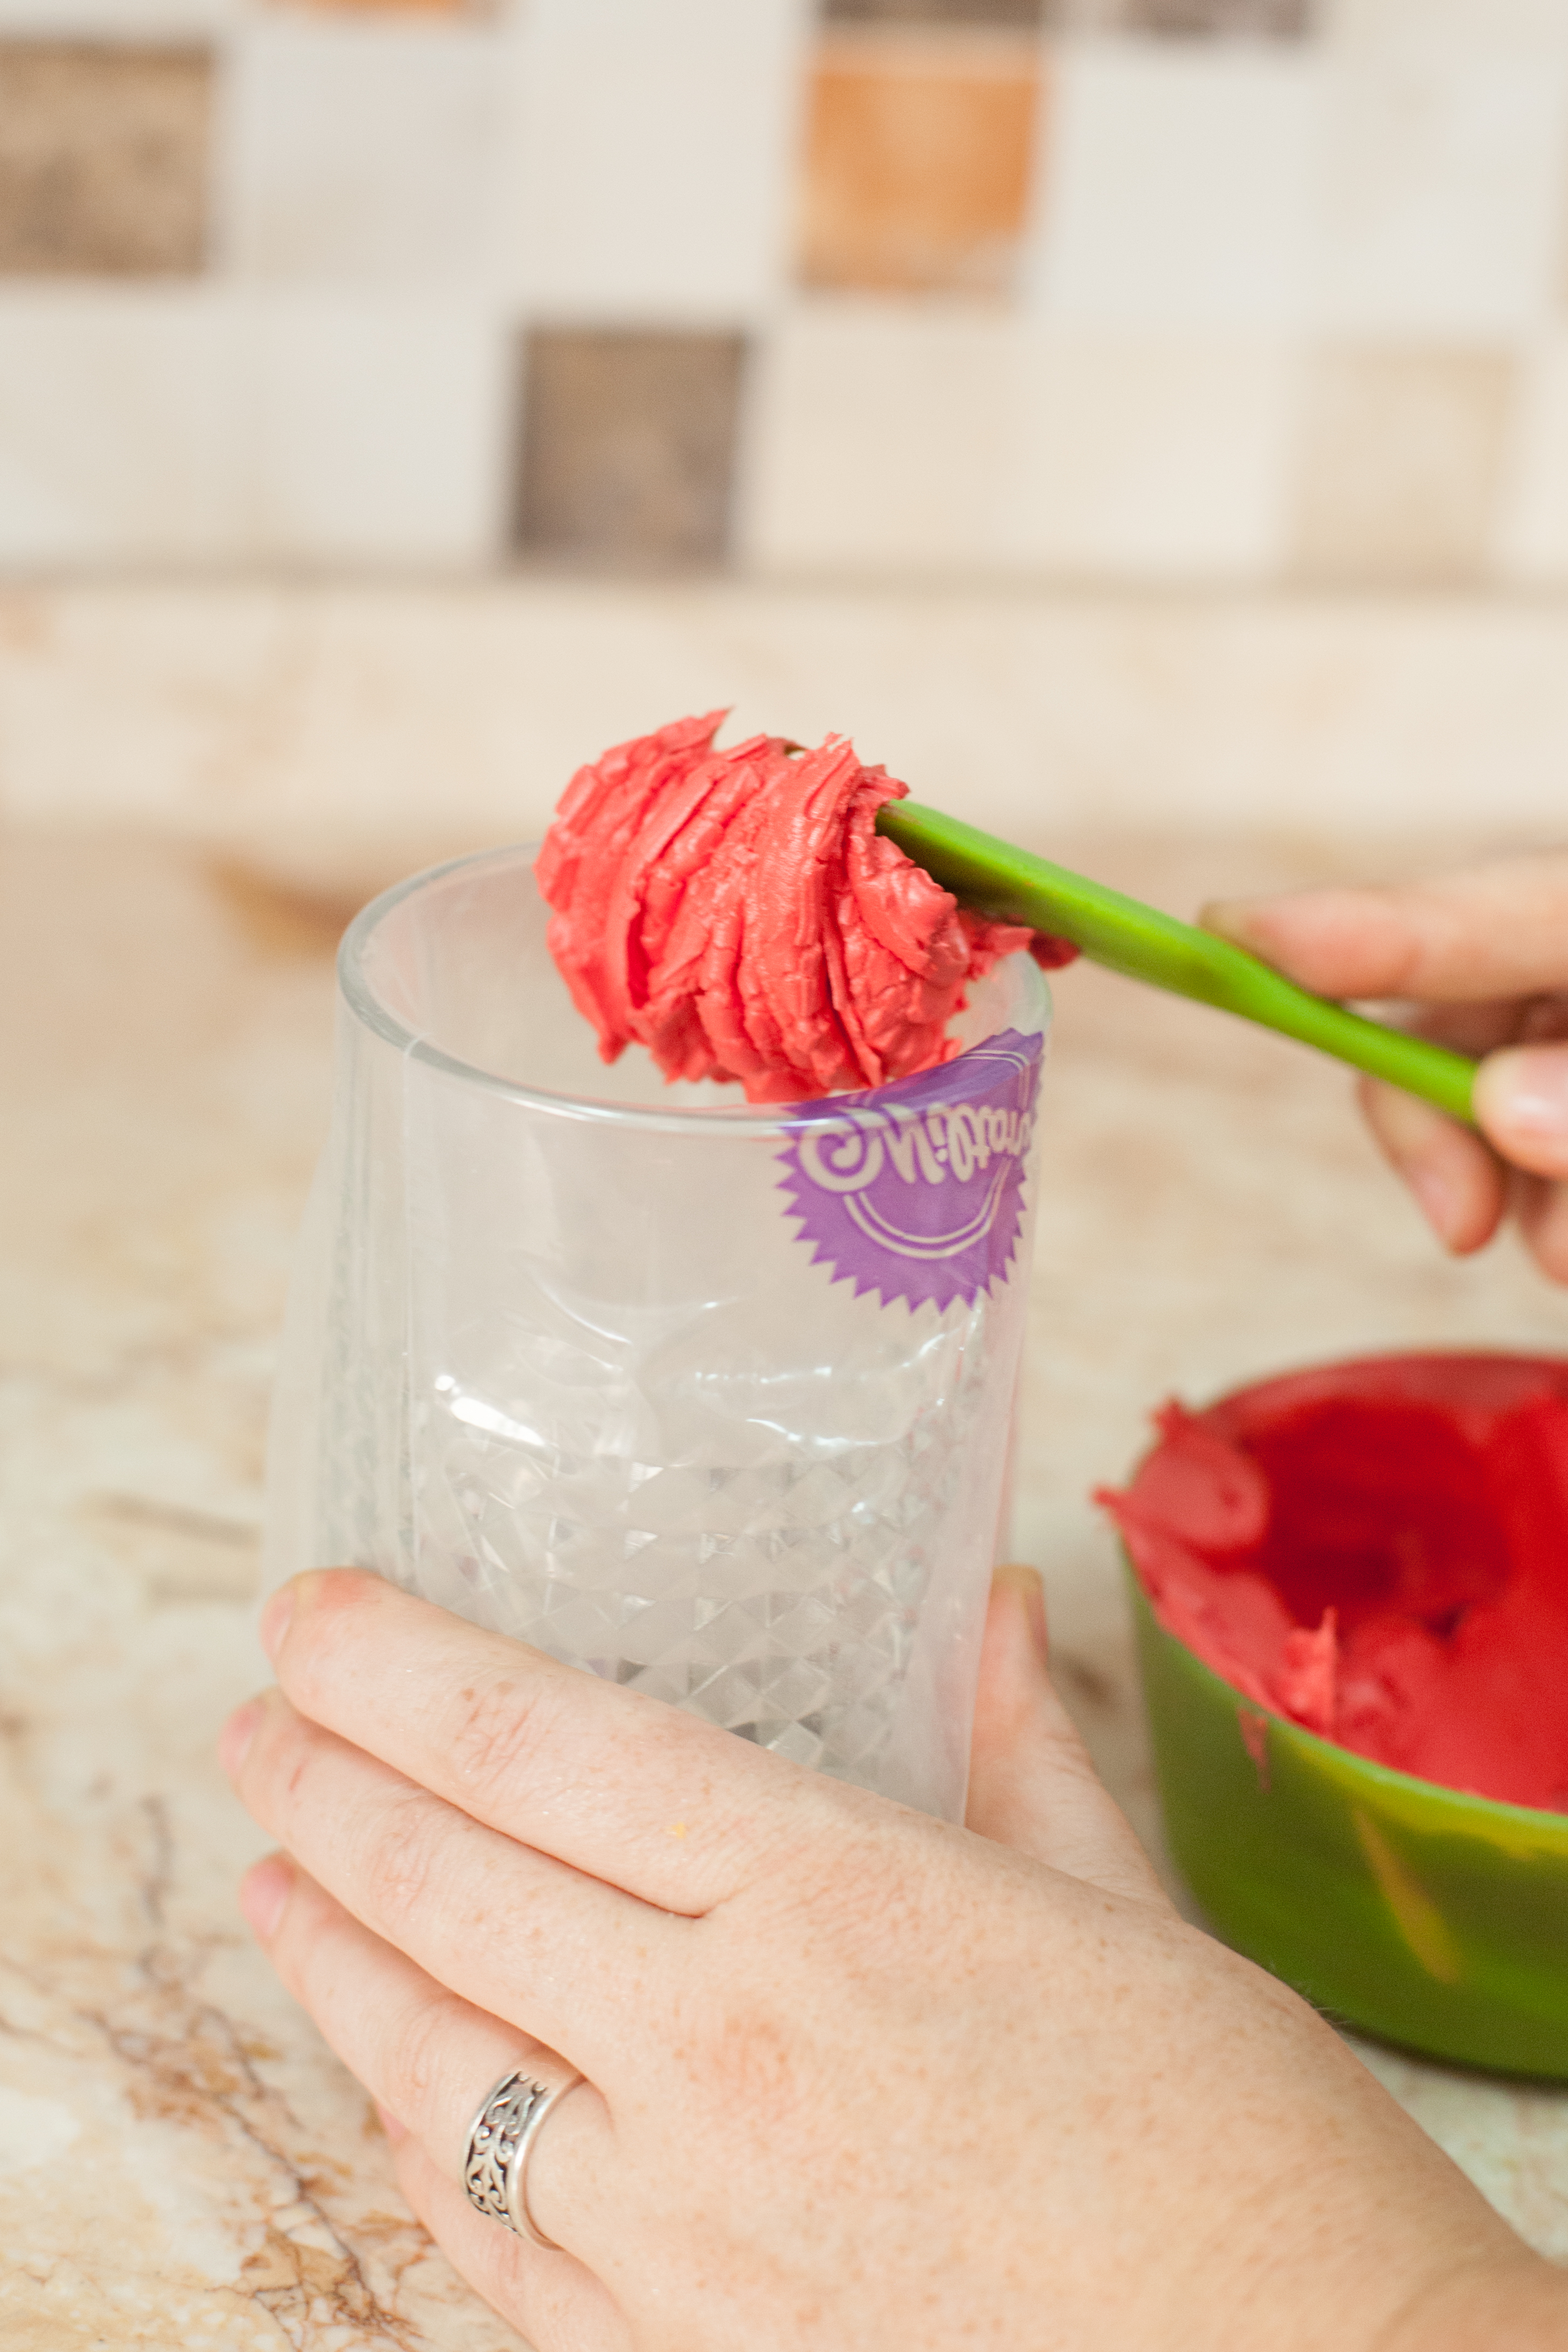
- This nifty trick to get the icing into the bags saves a lot of mess and time!
- Use a chip clip to close the back once its full. Twist the bag to create tension and then secure with a chip clip. SO MUCH less mess this way and easier to control the pressure on the bag when you’re not trying to keep it closed as well.
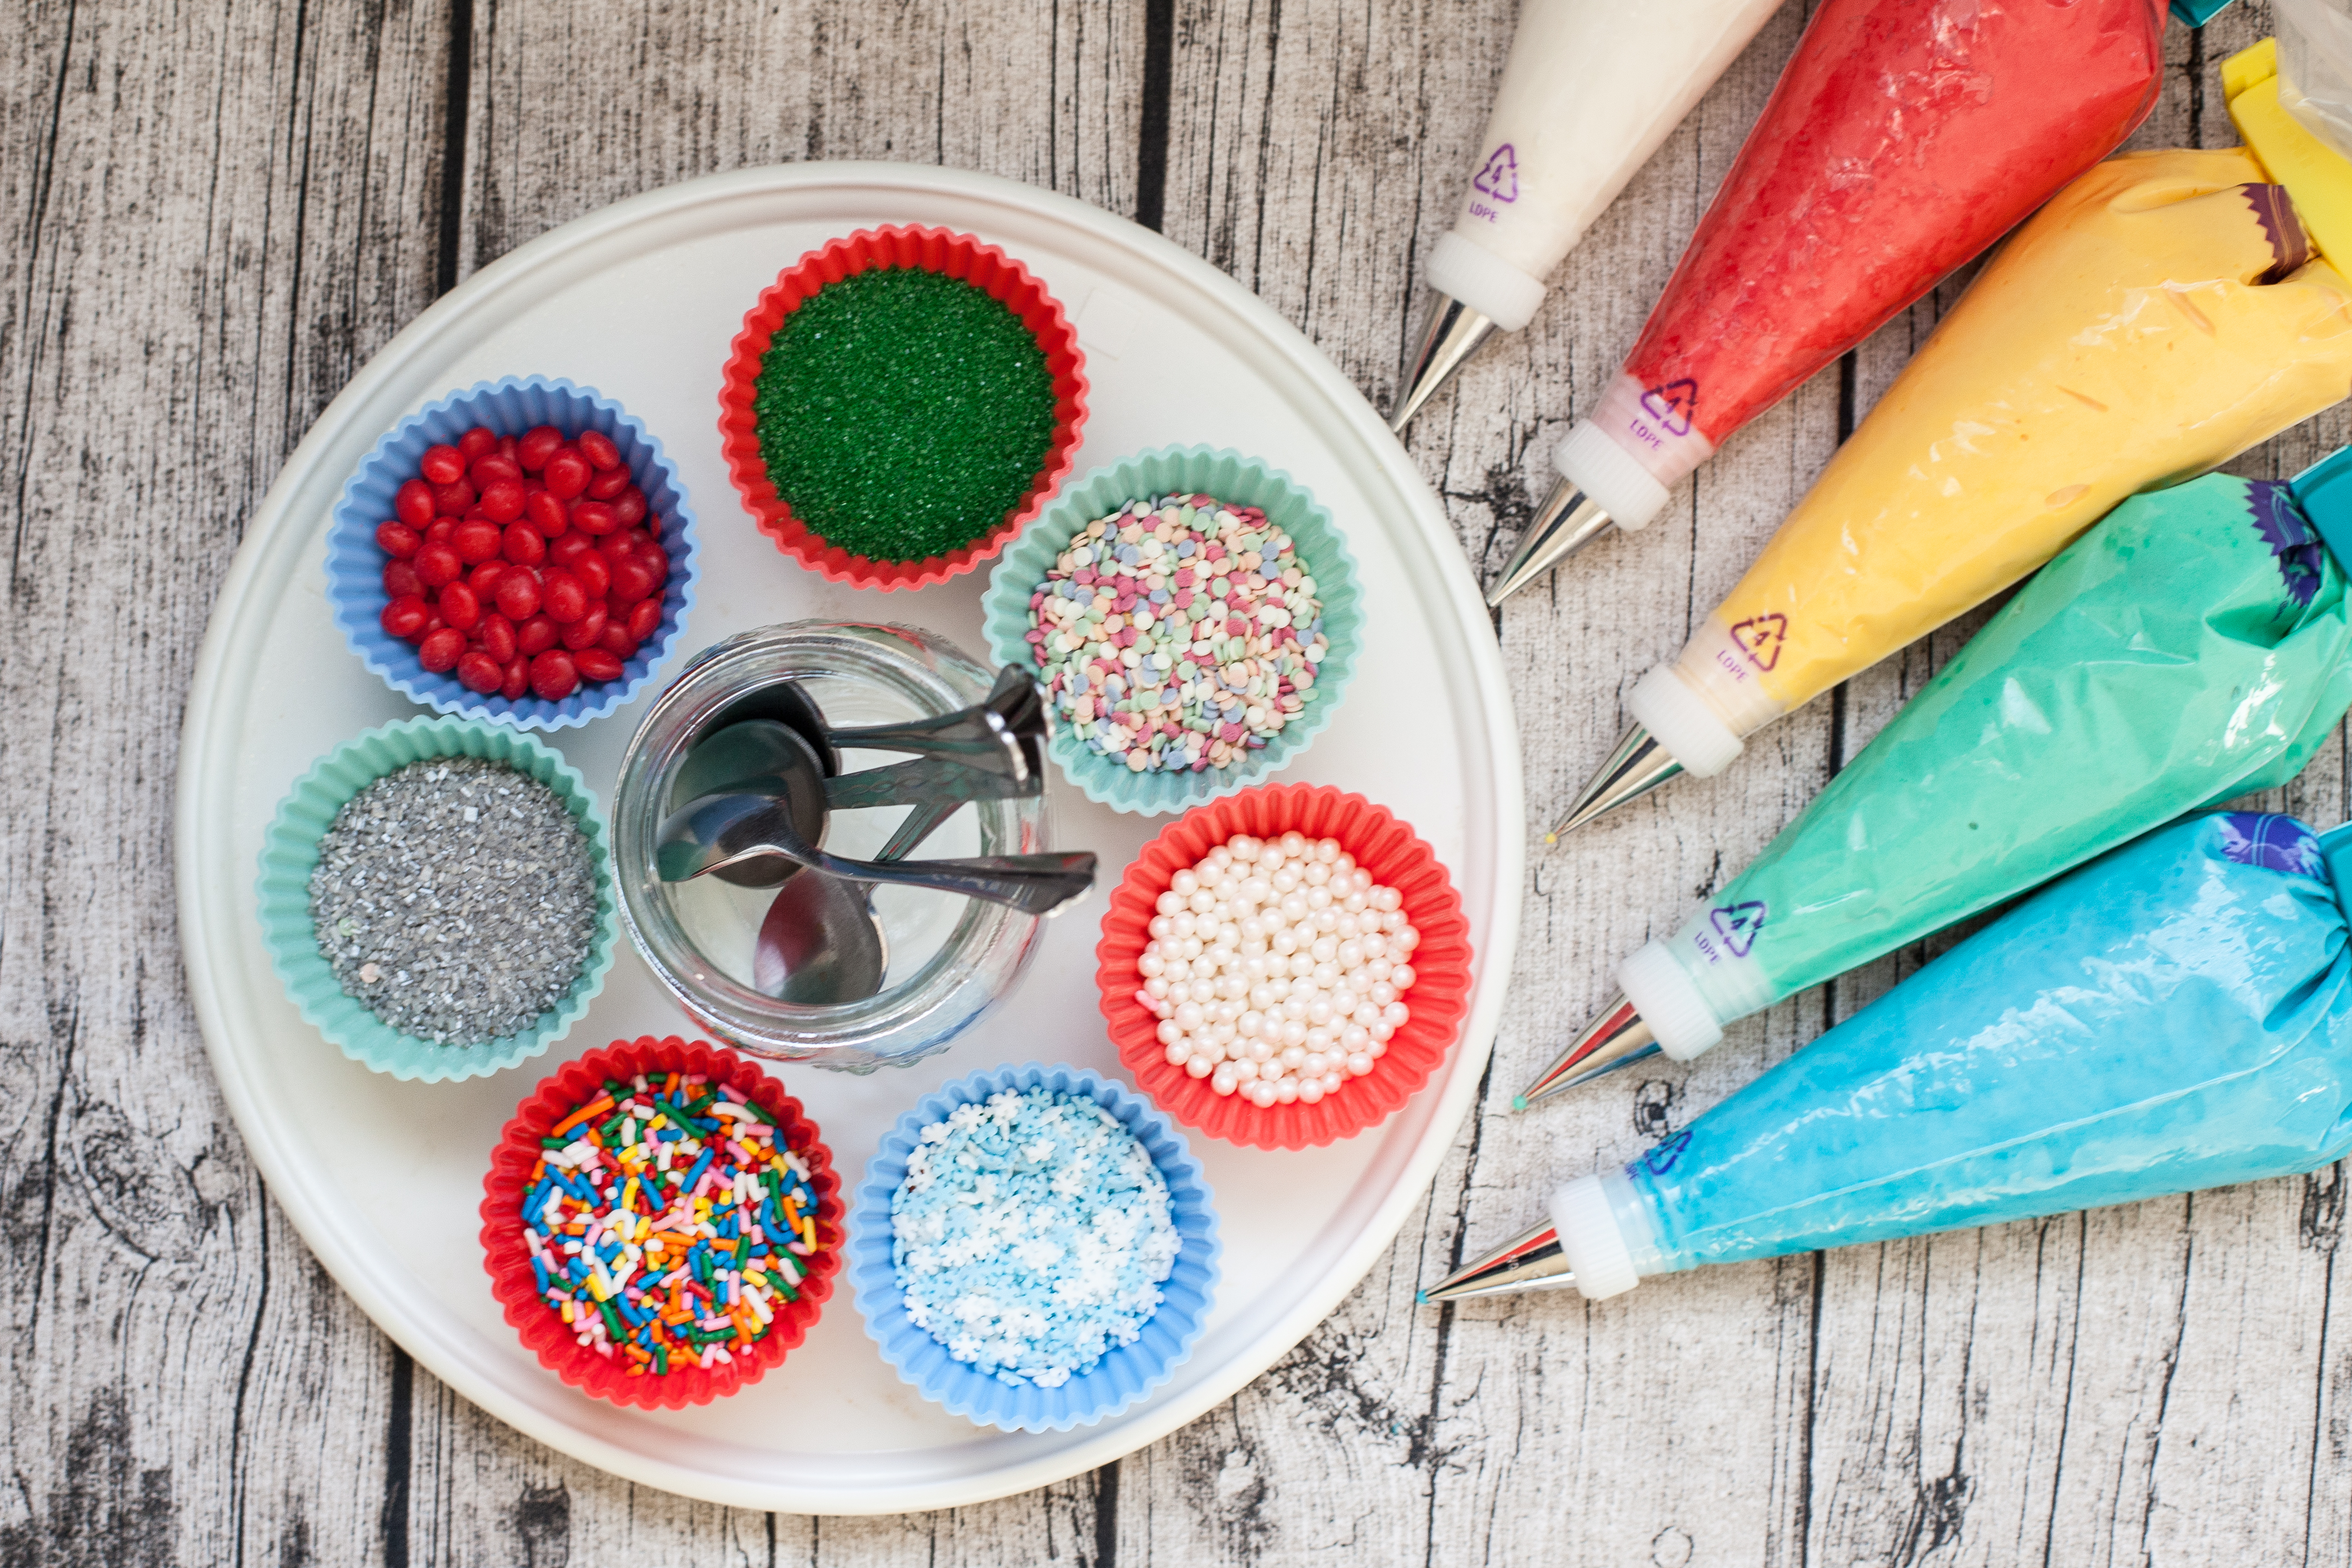 If you plan on using embellishments, a lazy susan and silicone cupcake liners keep all the parts and pieces streamlined and easy to access.
- Cookie prep/”base” icingI usually do the baking and cookie preparation (and ‘base’ icing) on day 1 and decorating on day 2 once the base icing has fully dried (unless you want the design to melt into the base icing, or want to swirl the icing; I do usually leave a couple cookies entirely blank for creative swirl decorations).To make the “base” icing-
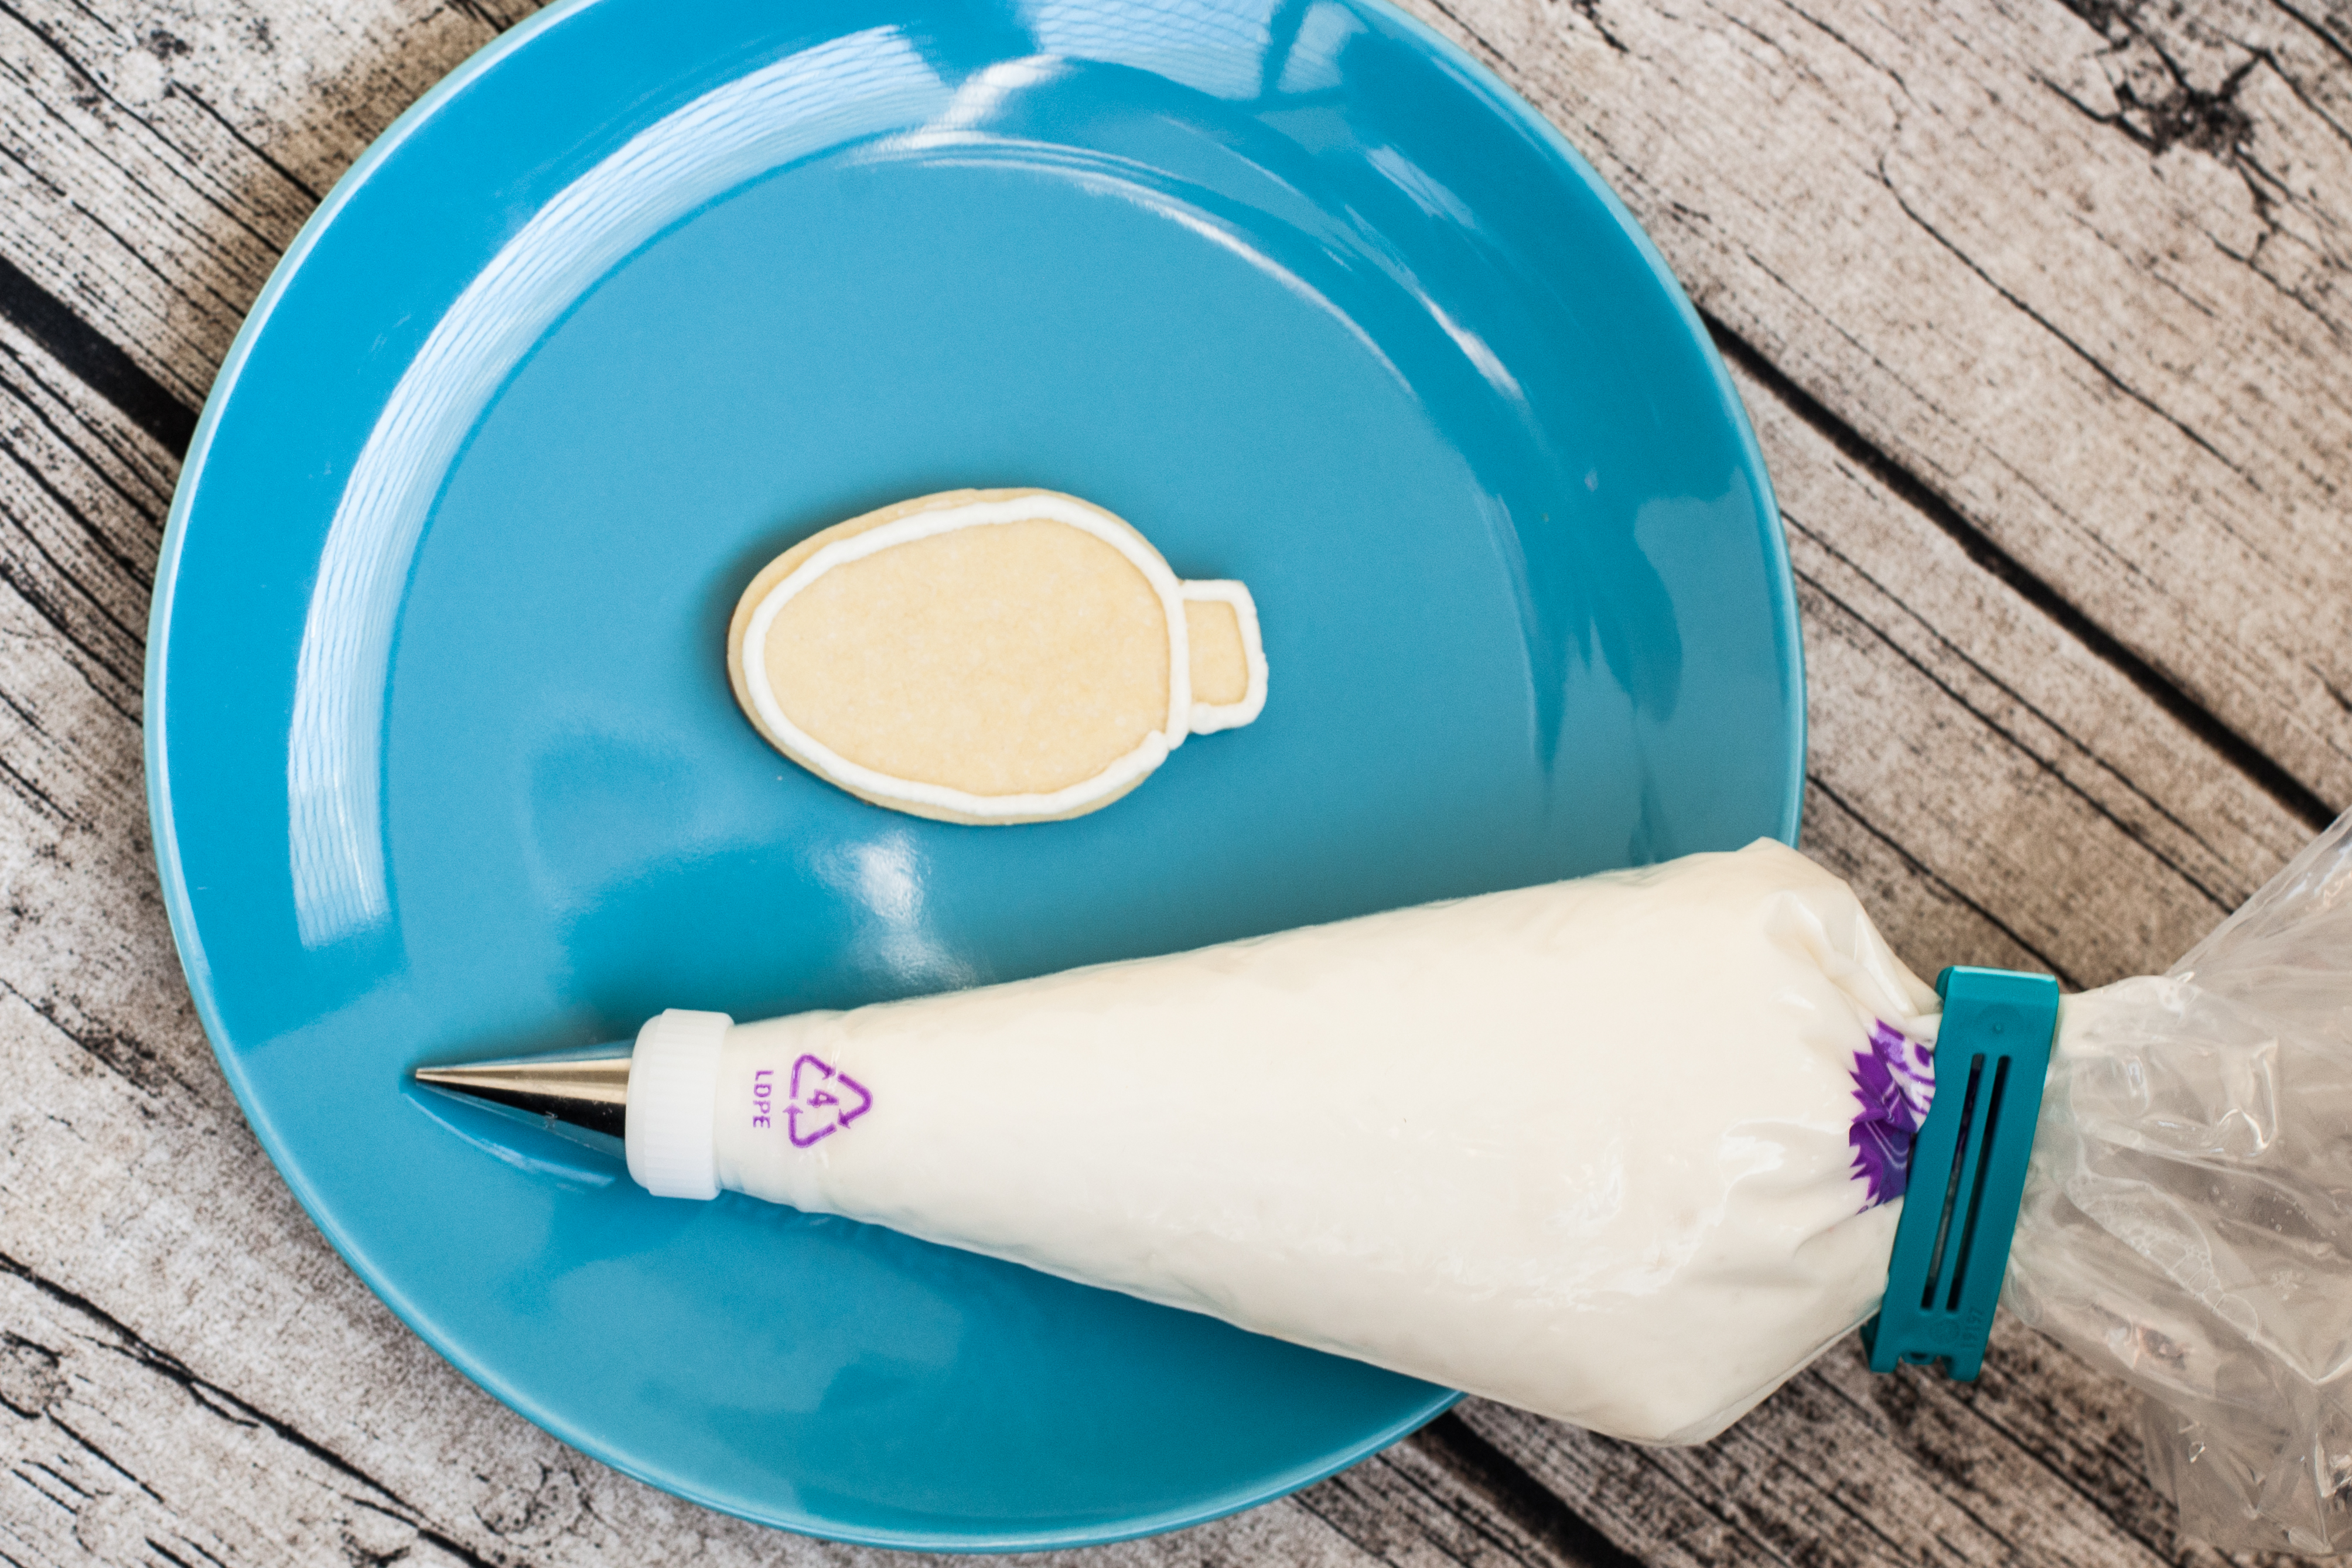
- Outline the cookie with a thick icing in the same or a contrasting color
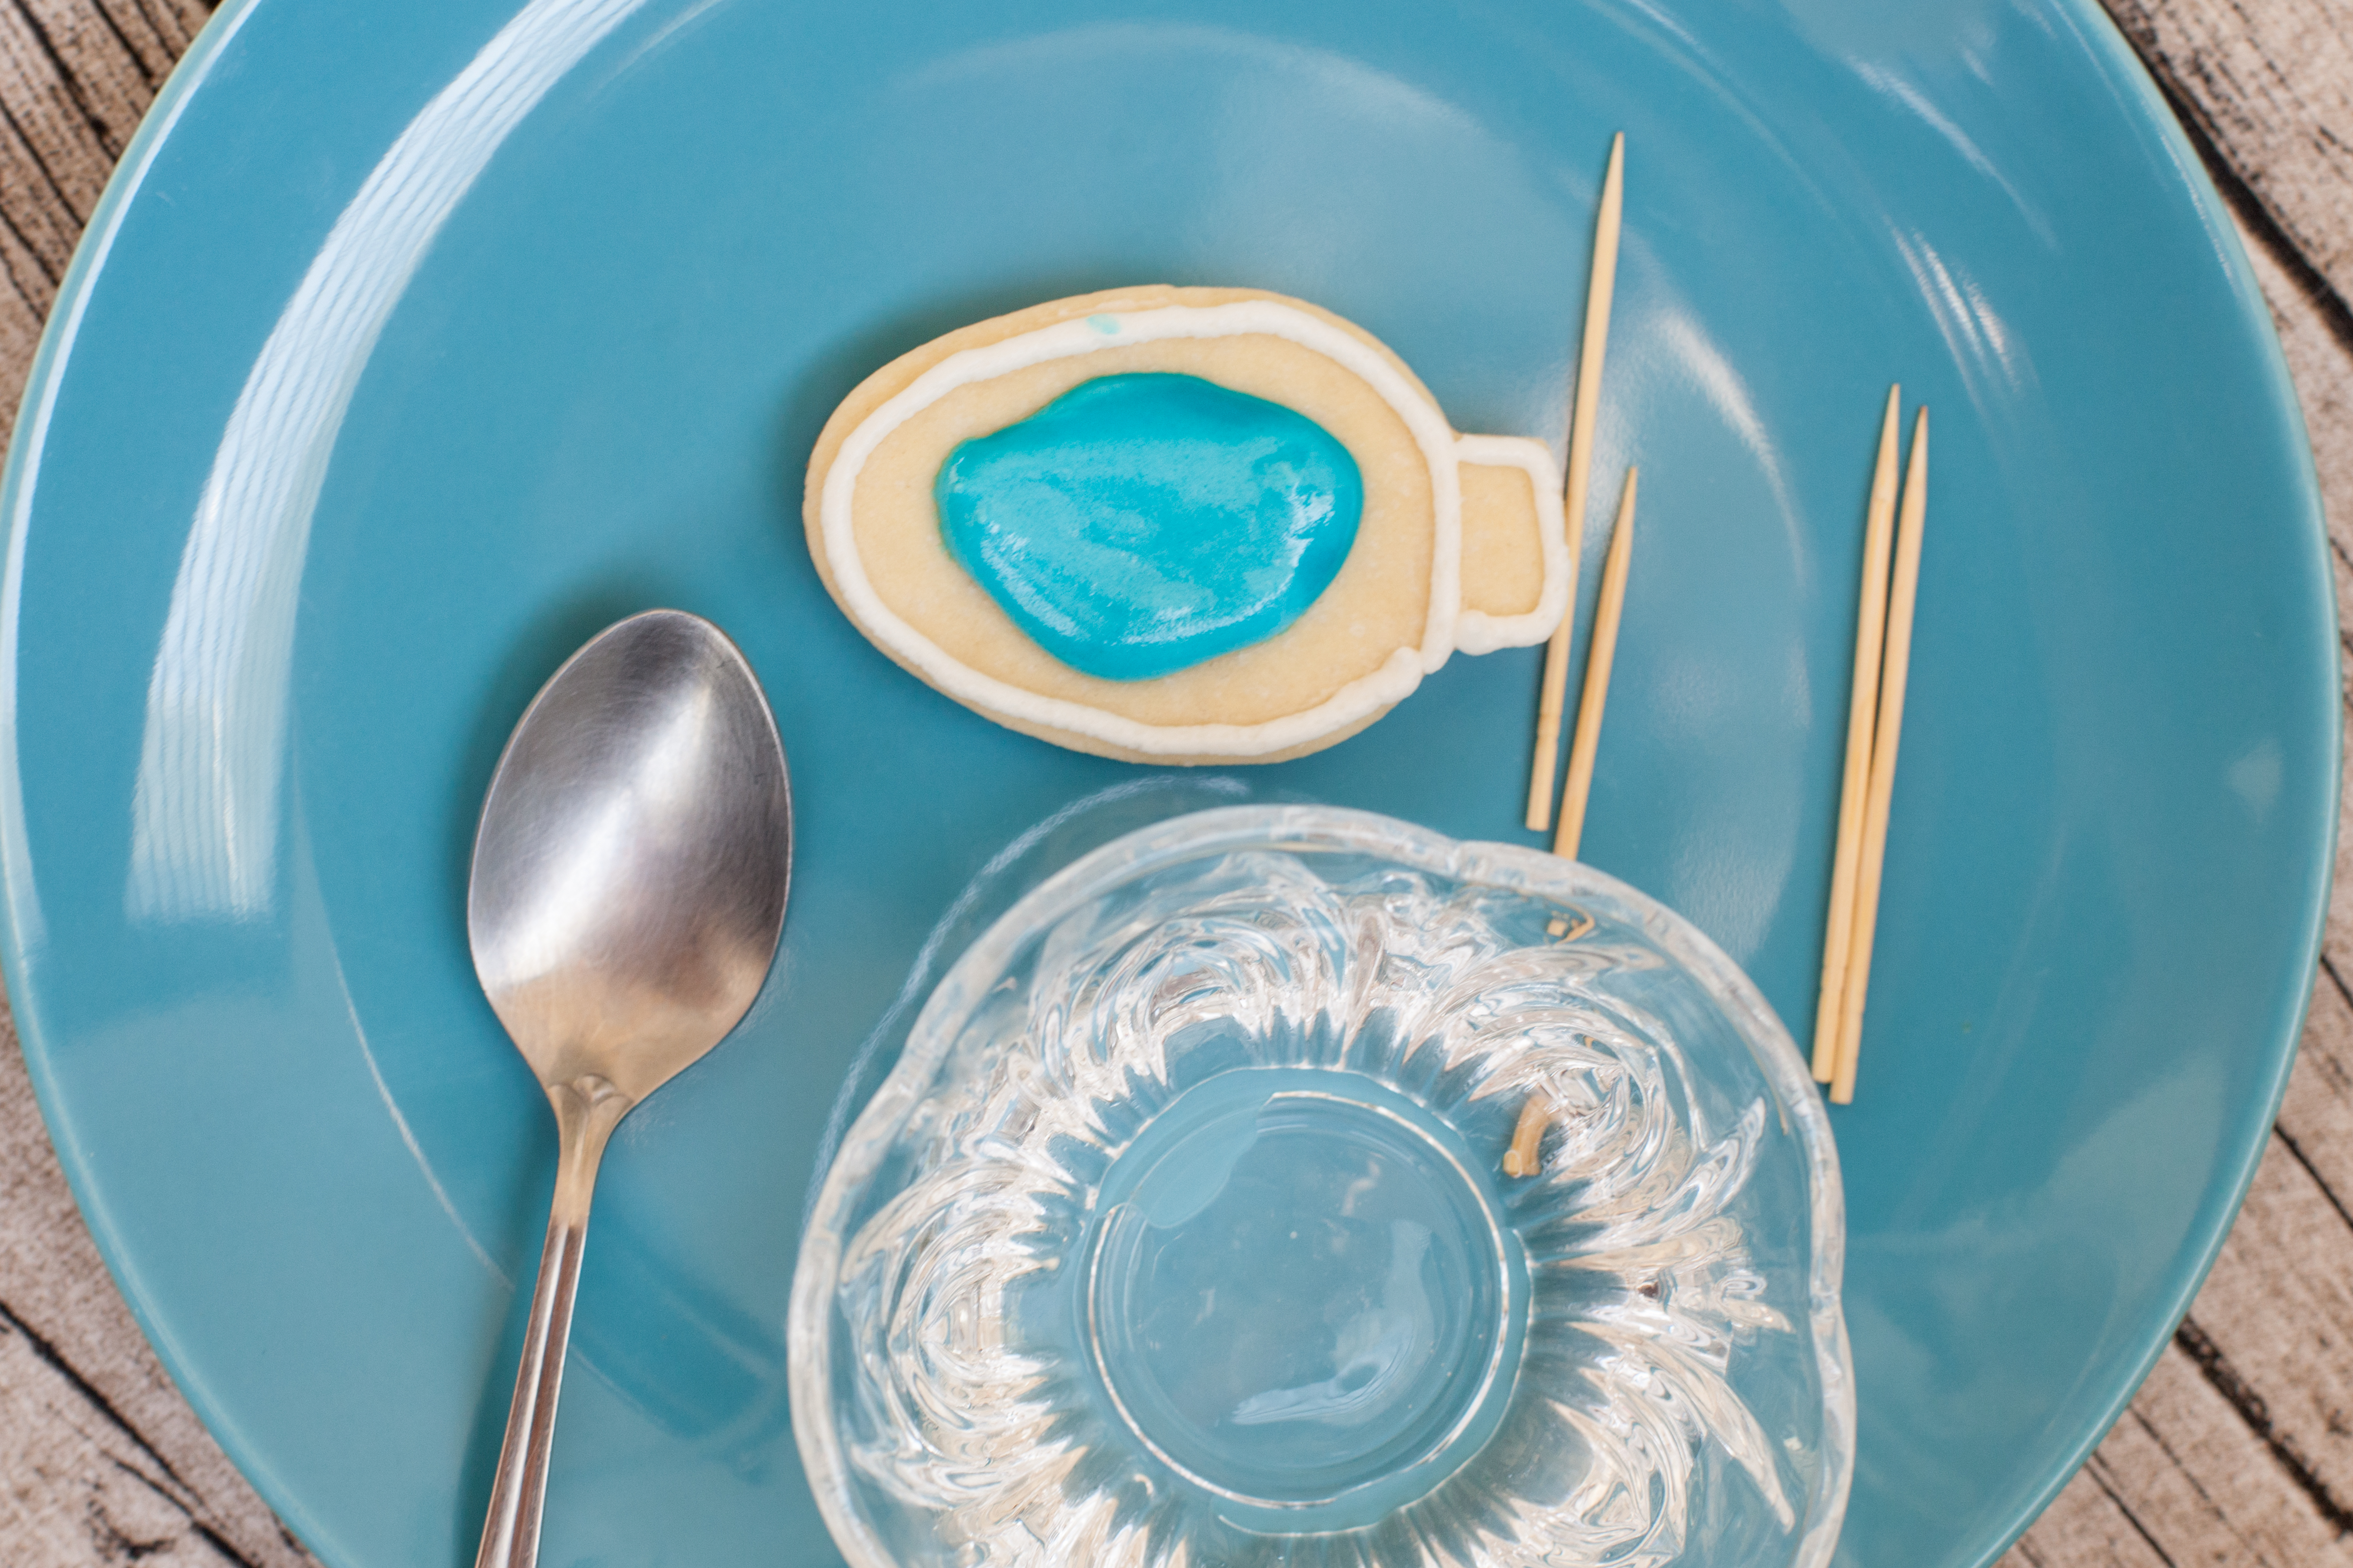
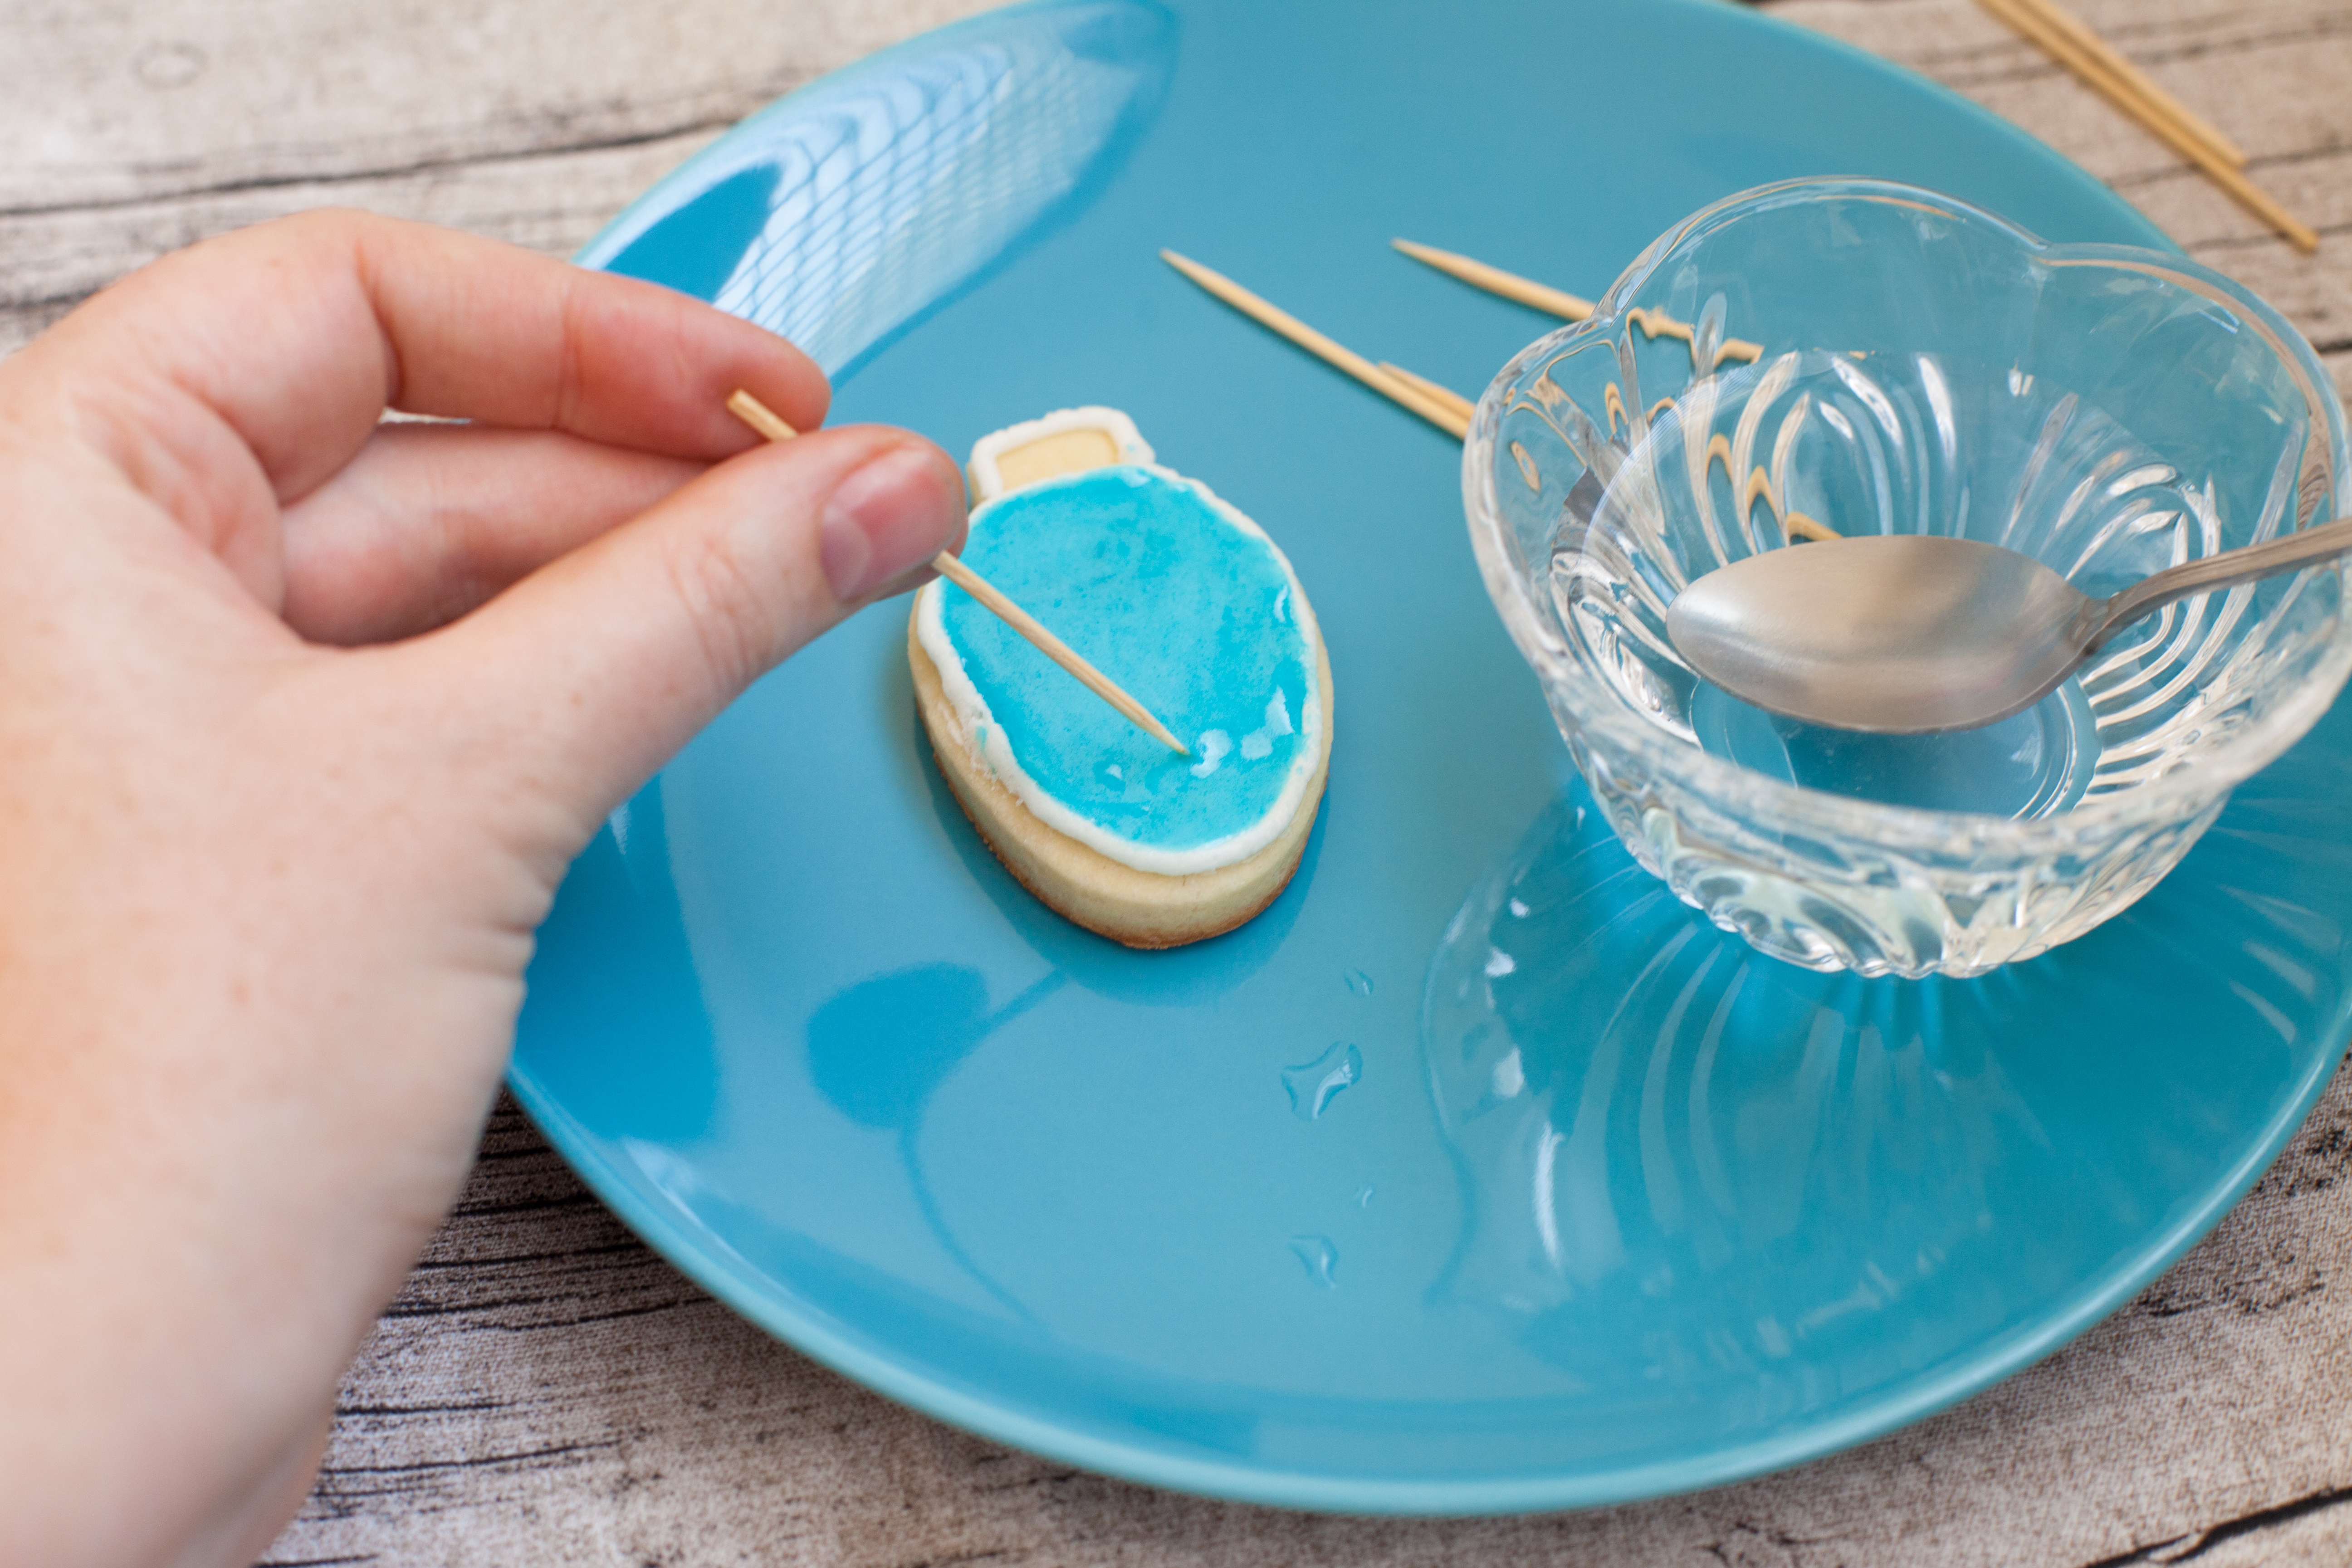
- “Flood” the cookie with the icing . If it is too thick, add a bit of water until is spreads easily. Use a toothpick to pop any bubbles for a smooth finish (this step is essential with royal icing)
- I have several cookie trays with lids so that they can air dry for several hours at least.
- Outline the cookie with a thick icing in the same or a contrasting color
 Now that the ground has been laid for the perfect sugar cookie bases, the fun part (DECORATING!) is up next. Except if you’re like me, this ‘fun’ part is also quite daunting! So stay tuned for Jord’s tried and true sugar cookie decorating tips tomorrow!



One Comment