the sophia dress- a tutorial
As an Amazon Associate I earn from qualifying purchases.
 This summer, I’ve been on a comfy dress sewing kick for Piper Jane. It started when I was planning for our lo-ong trip and wanted to pack as many soft, jersey dresses possible (for both me and Piper, actually).
 I finished up two comfy dresses for her before the trip (the reversible Anchors Away dress, and the fabulous ‘Sophia Dress’ that I’m sharing today). And my efforts have snowballed into a jersey-dress-sewing-streak since we’ve been home, probably because Piper loves them, they are super cute, and they are so easy to make (though, they’re all a little different- all super easy still).
 To make one of these cuties, you’ll need-
-two t-shirts(one will become the lining and can be white)
-a basic A-line ‘template dress’ to trace
-a fabric pen
-sewing supplies
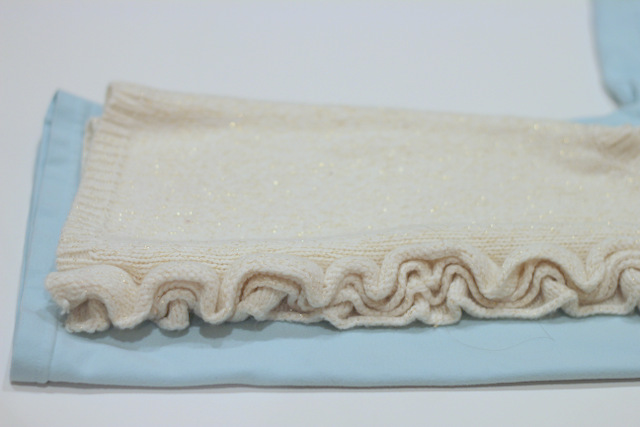 Fold the ‘outer tshirt’ (the non-lining one) in half. Fold the template dress in half and lay it on top of the tshirt. Instead of matching up the folded middle line, match up the bottom corner of the A-line dress with the bottom outer corner of the tshirt- this leaves about an inch of folded tshirt on the inside of the folded line of the dress.
 Cut along the top edge (just cut along the shoulder line) and along the arm hole. Leave the side seams of the tshirt intact.
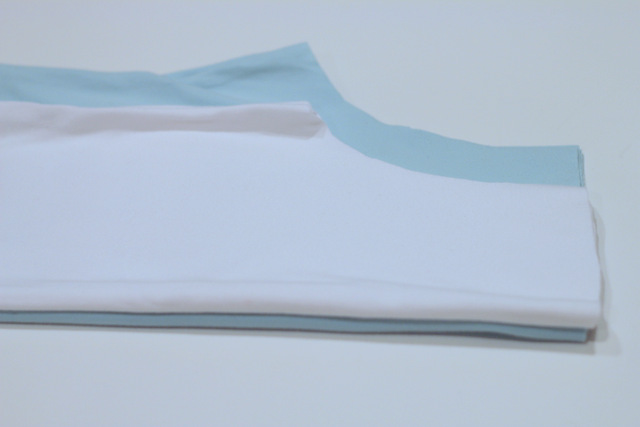 Repeat with the liner white t-shirt, making it a little shorter than the template dress (so the lining doesn’t peak out from the dress when it is all finished).
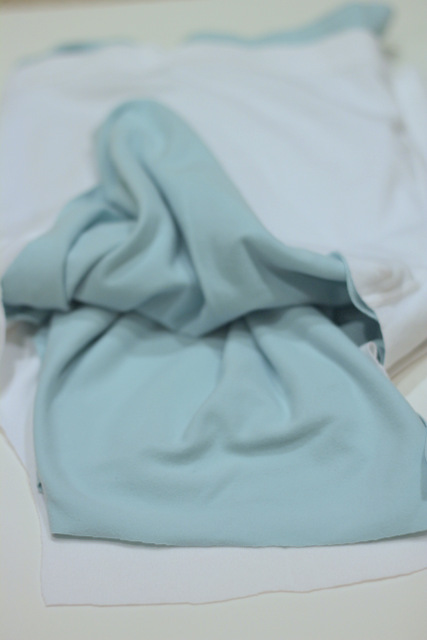 Leaving the outer t-shirt piece right side in, turn the lining t-shirt piece inside out and slide it around the outside of the outer piece.
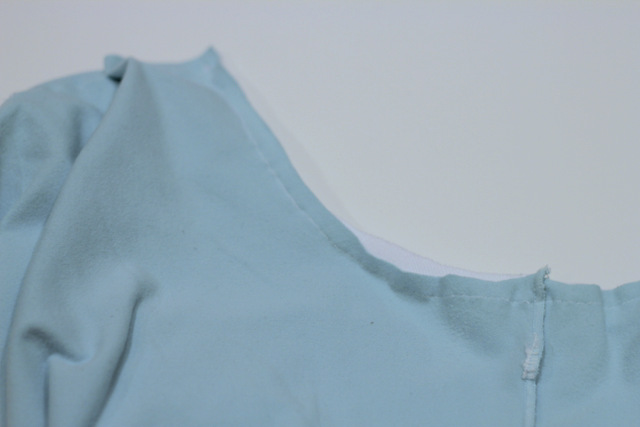
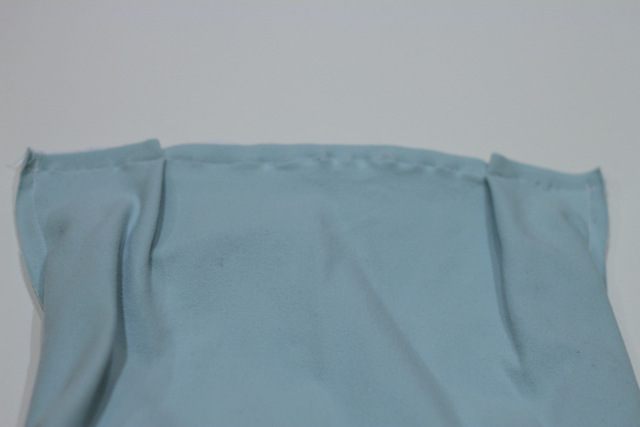 Line up the side seams, pin in place along the top edge and armholes (my outer piece required two pleats along the top edge to match the width of the lining tshirt piece), and sew together.
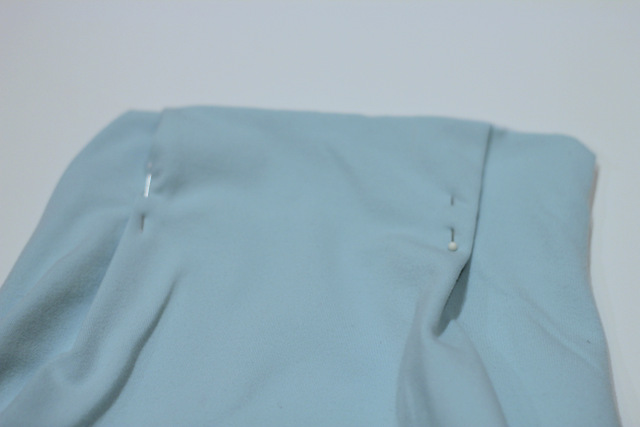
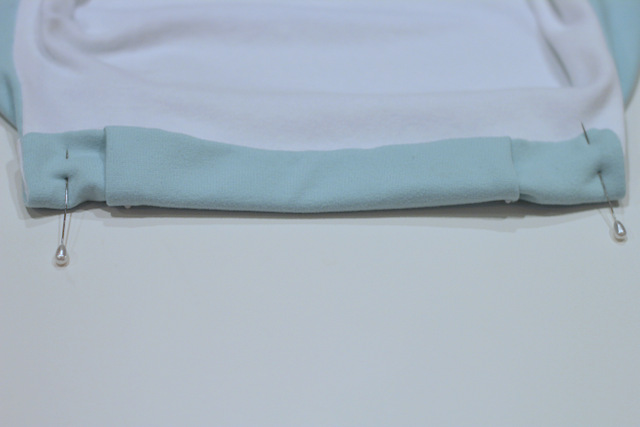 Turn right side in. If applicable, pin the pleats in place to secure their placement. Then turn down the finished top edges and sew a casing along the front and back top edges.
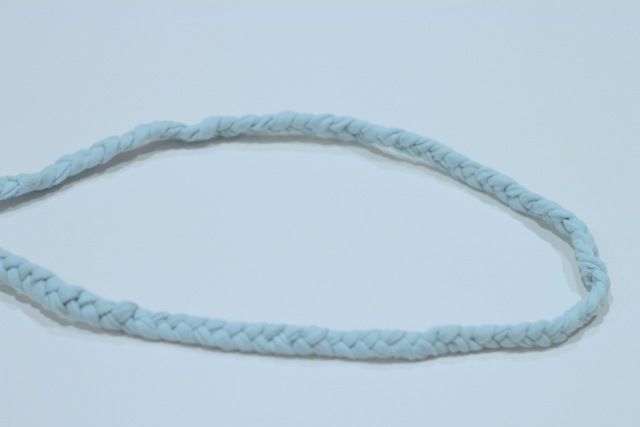 Using long thin strips from your tshirt, made a braid. Thread through the top casings, making the dress sleeves.
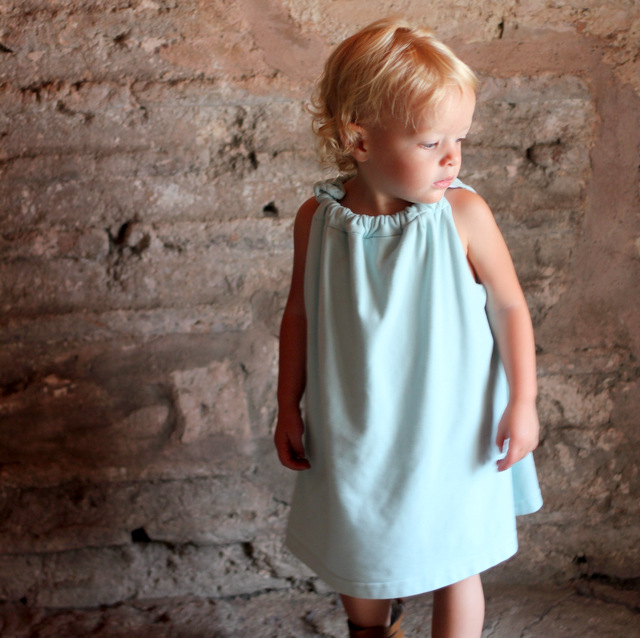 Tie on one side and you’re done! We’ve gotten a ton of use out of this dress this summer (and not just one our trip). Even better, since it’s lined, I think I’ll be able to add leggings and a long sleeved shirt or cardigan and still use it this fall.
 Two sidenotes- First, these pictures make me want to start planning another trip. And also, I am wishing that I was always in an amazing, old city for my photo shoots (these pictures were taken in the Aya Sophia in Istanbul).
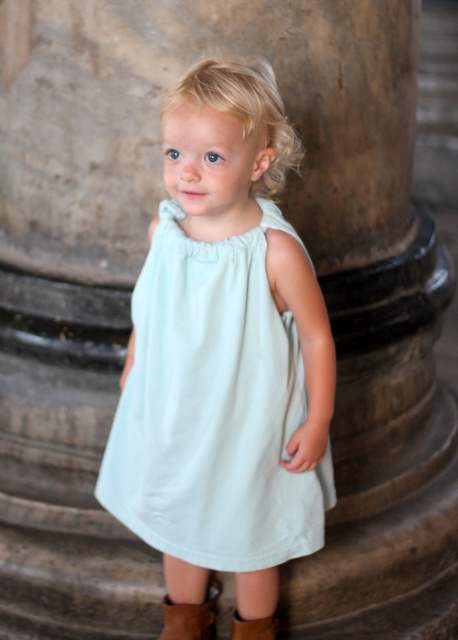 Question for y’all- how do you find photo shoot places in your city? I have several finished projects to take pictures of and am lacking inspiration (and upcoming vacations)…



Thanks for the tutorial, Kristen! This dress looks super comfy. I love Piper’s boots in these pictures. Any chance she picked her shoes for the day? 😉
Thank Michaela- and yep, she LOVES those shoes. Since they were one of two pairs we took on our trip, she wore them all over greece and turkey. Funny girl. 🙂
I love blue on girls! The dress being lined and using already hemmed fabric makes it even better, great job
Tanya, we are a blue-wearing family (I think it’s the best color on all four of us) and I love Pi in blue!!! And YES to the lining/hemming- easy to wear, easy to make. 🙂
I love this! Is the liner always necessary or only if the tee is a lighter color? I would love to recreate this for a game day dress!
Hey Lindsay- the liner isn’t necessary, but it’ll change around the tutorial (you sew the two together and it finished off the edges). I made one without a liner and will be sharing that tutorial soon….