lace top tutorial for winter whites
As an Amazon Associate I earn from qualifying purchases.
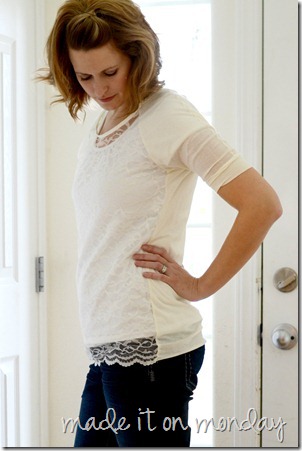
I adore today’s guest, Jill from Made it on Monday. And this lace top is perfect for Winter Whites!
I’m excited to be a part of Winter Whites! I’m Jill and I blog over at Made it on Monday. When Kirstin contacted me about joining the series, I knew it was the perfect motivation to actually make one of the tops I’ve been envisioning. My poor sewing machine has been neglected these past few months as I’ve been pretty occupied by a new baby in the house and a very busy [almost] three-year-old.
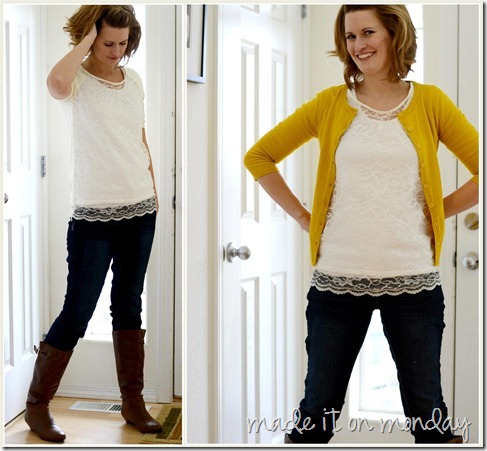
I’ve been somewhat redefining my style and rebuilding my wardrobe since having a baby four months ago. My shape and size are different than before. And even though my days are consumed with nursing, potty training, wiping the dog’s paws and attempting to keep some order in our house, I want to look put together when running errands. This top finds a balance between practical-mommy-wear and trendy-cute with its lace front and jersey knit sleeves and back.
Supplies needed: lace, matching lightweight jersey knit, thread, bias tape. I picked up all my supplies at Joann’s for less than $15.
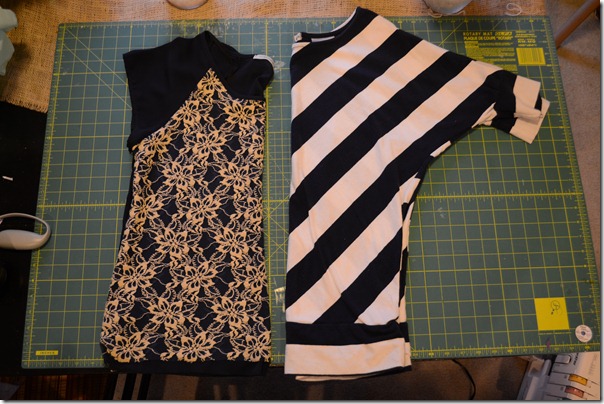
I used two existing tops to create my pattern. The one on the left had the lace front that I wanted to recreate, and the one on the right had the sleeves I wanted.
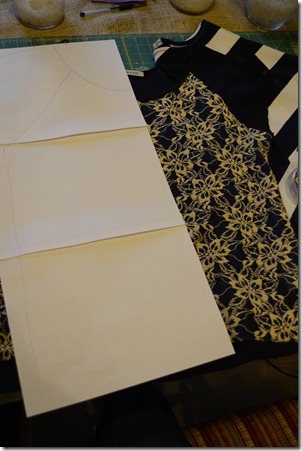
I started by tracing the lines of the lace on the first top and created a pattern for that portion of the top. I then lined it up on the second top, as well as another piece of paper and traced the sleeves as well as the back.
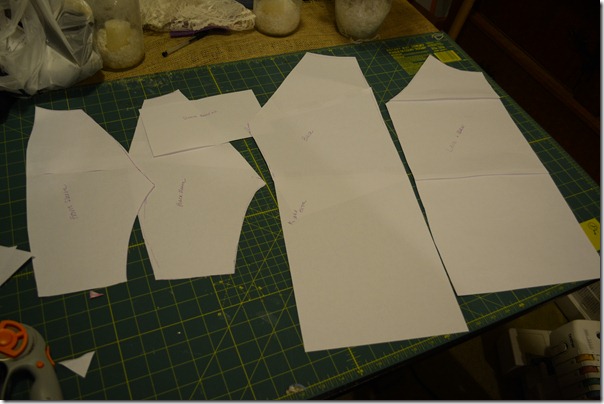
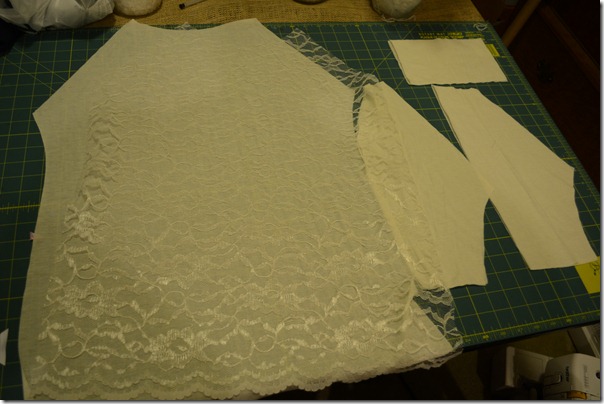
I ended up with five pattern pieces—the the sleeves front and back, cuff of the sleeve (the width of the hem of both the front and back sleeve pieces by 4”), the front and back. If you don’t have an existing top like the ones I used, you can use another shirt that you like the fit of and just create the pattern pieces with the angled line from the armpit to the collar.
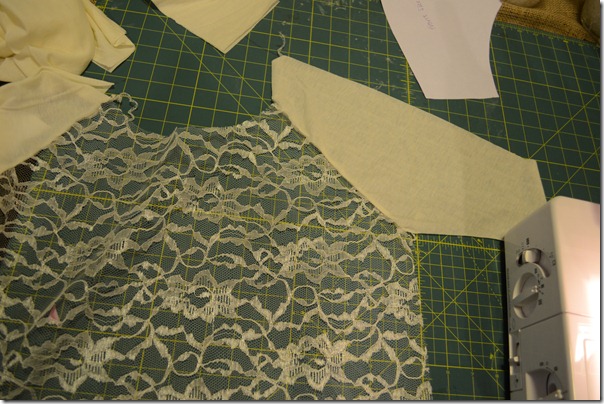
Then I cut my pieces from the lace and knit.
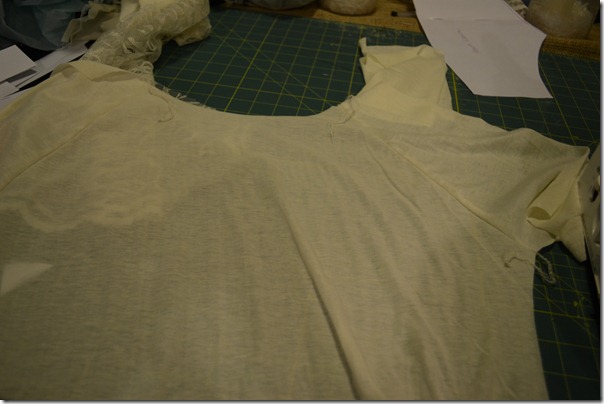
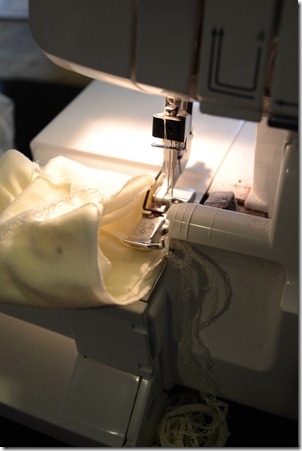
Sew the sleeve fronts to the lace, right sides together. I used my serger, but you can also use your regular machine with a small seam allowance. If you aren’t familiar with sewing with knits, I wrote a post about it HERE.
Then sew the sleeve backs to the back, again right sides together. Follow that with sewing the front and back together, right sides together, first at the top of the sleeve up to the neckline, then from the sleeve cuffs, under the arms, down to the hem.
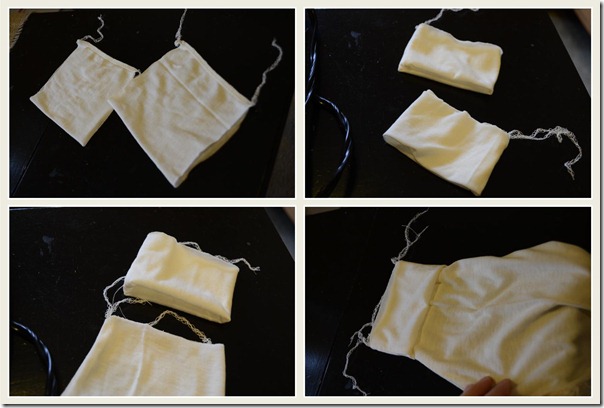
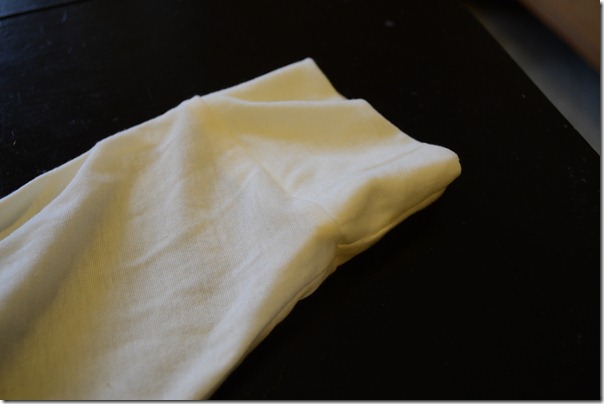
The next step is one of my favorite ways to make a homemade top look professionally made. You can read a more in depth tutorial HERE about finishing touches on homemade clothes. But a quick overview—On both cuffs, fold it width wise and sew the two short ends together, right sides together. Fold in half length wise so the raw edges line up and the seams are hidden inside the cuff. Slip it over the right side of the sleeve with the folded edge going over the sleeve and the raw edges lining up with the shirt. You should have three layers of material around the whole sleeve.
Sew the cuff on the sleeve.
Fold it over and admire your beautifully made cuff.
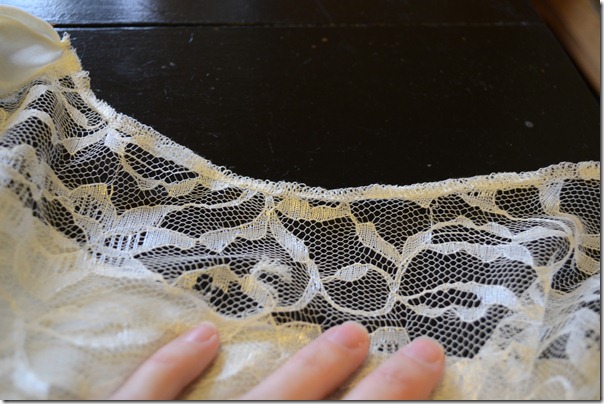
I then serged around the raw edge of the lace at the neckline, but you could either use a rolled hem or zig zag stitch on a regular machine. This is just to make a little something extra to attach the bias tape to since the lace isn’t a very strong/sturdy material.
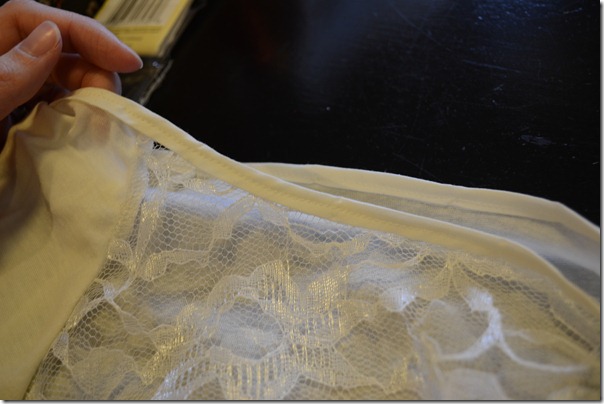
Sew the bias tape around the neckline. And you’re done! The lace already had a scalloped edge that I used at the hem, and the jersey knit won’t fray, so I didn’t worry about hemming the top.
And now I have a neutral top that will look great with jeans or slacks. I can layer it with a white tank or I can mix things up and use a colored tank. The lace dresses it up while the knit keeps it comfortable. And I love the way it looks under a cardigan!
Thanks so much, Kirstin, for having me!
 Be sure to go check out Made it on Monday– not only is Jill an amazing sewist (her maxi dresses are high on my to make list and we share an affection for bag making), the vintage modern nursery she put together for her sweet baby Reese is going to hit magazine news stands soon (isn’t that coral dresser great?)!
  And be sure to head over to delia creates for some snowy day photography tips!



This is so pretty! Love it!
Very cool; thanks so much for the clear and concise directions.
Cuteness!! I am obsessed with lace right now. This is gorgeous! And yay for an awesome tutorial 🙂
Right? Totally with you Rachel. Love the lace, love Miss Jill!
I finally have a chance to hop over here from my computer! Thank you so much for having me be a part of your series!!! I’m loving all the projects!