DIY kids apron
As an Amazon Associate I earn from qualifying purchases.

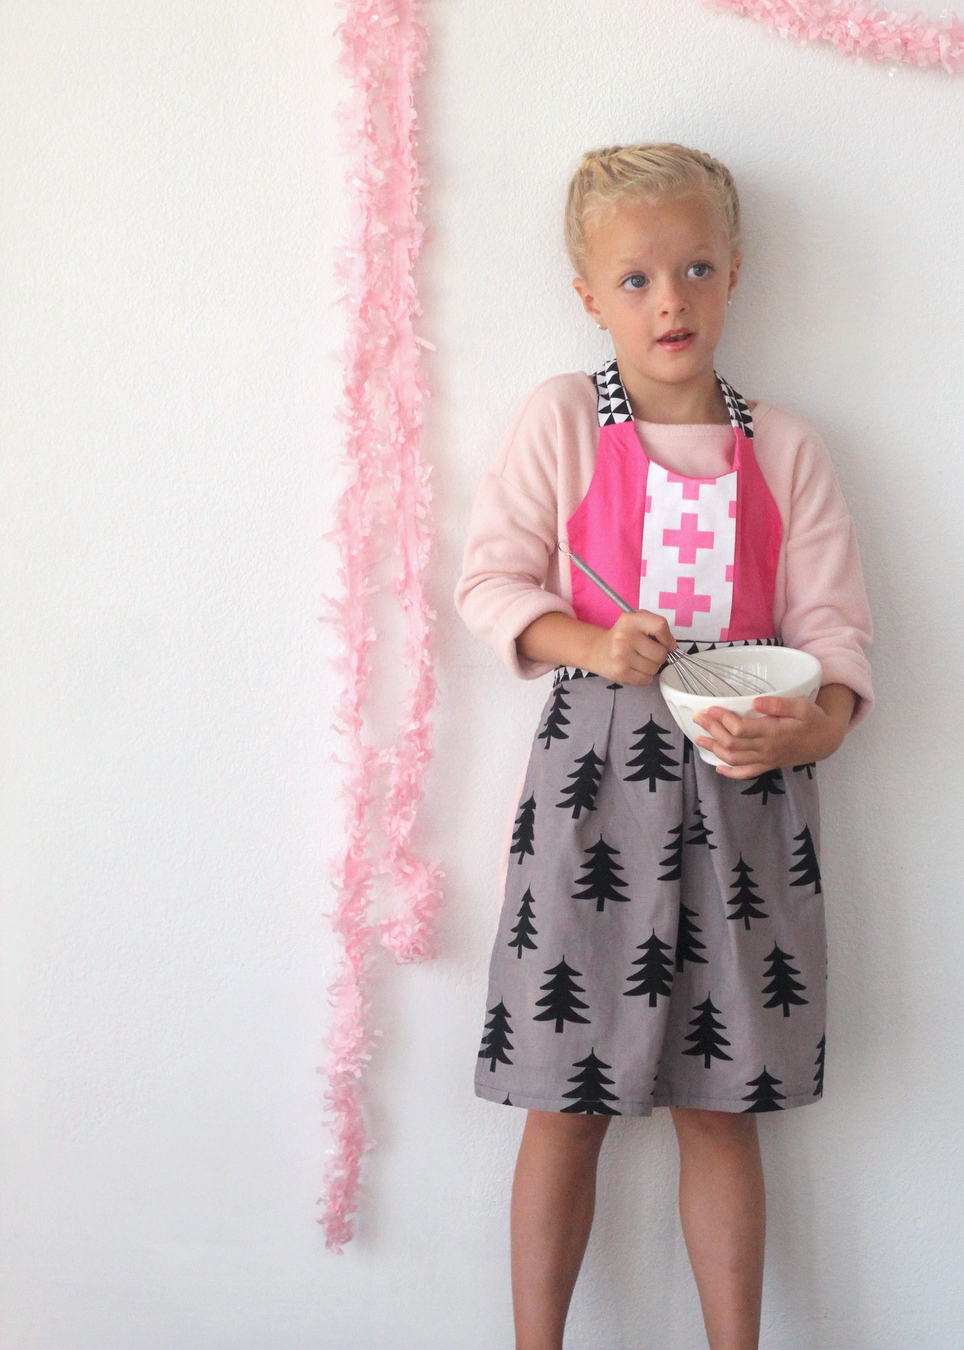
If you walk into my parents’ kitchen on any given Saturday morning while we are there (and many evenings), you can find Piper standing on a stool next to my dad, making something yummy.
 Her favorite thing to make with her Papa is sourdough waffles, but she would cook or bake with him anytime. And her affection for all things culinary is not limited to Lita and Papa’s house- that girl LOVES too cook!
 Of course, this made a kid’s sized apron top my sewing list. And she adores it (in fact, we made a second one as a birthday gift for her little BFF here in Saipan, she loves it so much)!
 To make a little girl’s apron-
Using a basic bodice pattern (or the bodice of one of your recipient’s dresses), trace and cut out two bodice pieces.
Cut out a 18″ x 24″ rectangle for the apron skirt.
To make the bodice (with a placet)-
Cut one of your bodice pieces in half, up the center (I pressed mine in half first to determine center).
 Take a 7″ x 5″ rectangle of another, coordinating piece of fabric. Press in half with the right side facing out. Sandwich in-between the bodice pieces, with the right sides of the half-bodice pieces touching the right sides of the placet/rectangle and the center of the bodice pieces lining up with the outside edges (not the fold) of the pressed places piece.
 Sew along the center, open, and press the planet piece flat.
 Cut four 2″ x 18″ rectangles to act as the neck ties. Attach the neck ties by lining them up to the top of the bodice pieces, right side facing each other, and sewing together (mine were at an angle, so I angled the neck pieces as well). Press. Repeat with the lining bodice and two more neck tie pieces.
Lay the two bodice-plus-tie pieces on top of each other (I had to modify the lining a bit because of the little bit of width lost by the line of stitching- adding a small pleat solved this). Sew around the entire perimeter, leaving a few inches open along the bottom edge of the bodice to turn right side in. Turn right side in and press the raw edges back into the opening.
To make the waist band, cut a 4.5″ x 42″ rectangle. Fold in half, right sides facing each other and press in place. Find the center, then measure 7″ in each direction and mark with a fabric pen. Cut both ends to a point. Sew from one mark to the end, repeat on the other end. You should have a 14″ opening in the center- use this to turn the waist band right side in. Press the raw edges of the opening into the center.
 For the skirt, cut an 18″ by 24″ rectangle. Double roll and press the two sides and the bottom edge, then sew in place. Pleat the top edge until the finished width is 14″. Sew the pleats down to secure.
Insert the top of the skirt into the opening of the waist band. Top stitch along the bottom edge of the waist band, closing the opening and securing the skirt.
Match the center of the bodice with the center of the waist band. Layer, right sides facing each other, the bottom edge of the bodice and the top edge of the skirt. Sew together.
 Done! Your little chef is outfitted and ready for waffle making!


Ahhh! It’s like you knew my little miss has asked for a baking birthday party!
Haha, I love it! What a fun party theme!
Pretty! I’ve got a Craft Gossip post scheduled for later today that features your tutorial:
http://sewing.craftgossip.com/?p=87980
–Anne