DIY unicorn dolls
As an Amazon Associate I earn from qualifying purchases.
 Piper seems to have caught Unicorn Fever in the last few months (she’s requested “unicorn and glitter” as the theme for her next bedroom- ha!), so naturally this magical mystical creature was the theme of her half birthday party this year
{Sidenote- we aren’t starting a ‘half birthday’ thing. We just already have a FULL August and after Typhoon Soudelor raining on Piper’s birthday party parade last year (literally), I’m not taking any chances.}
 Anyway, since we looked at the summer calendar, decided on a half birthday party in lieu of a birthday party, chose a theme and put this party together all in the span of week and a half, we tried to choose just a couple really fabulous party features.
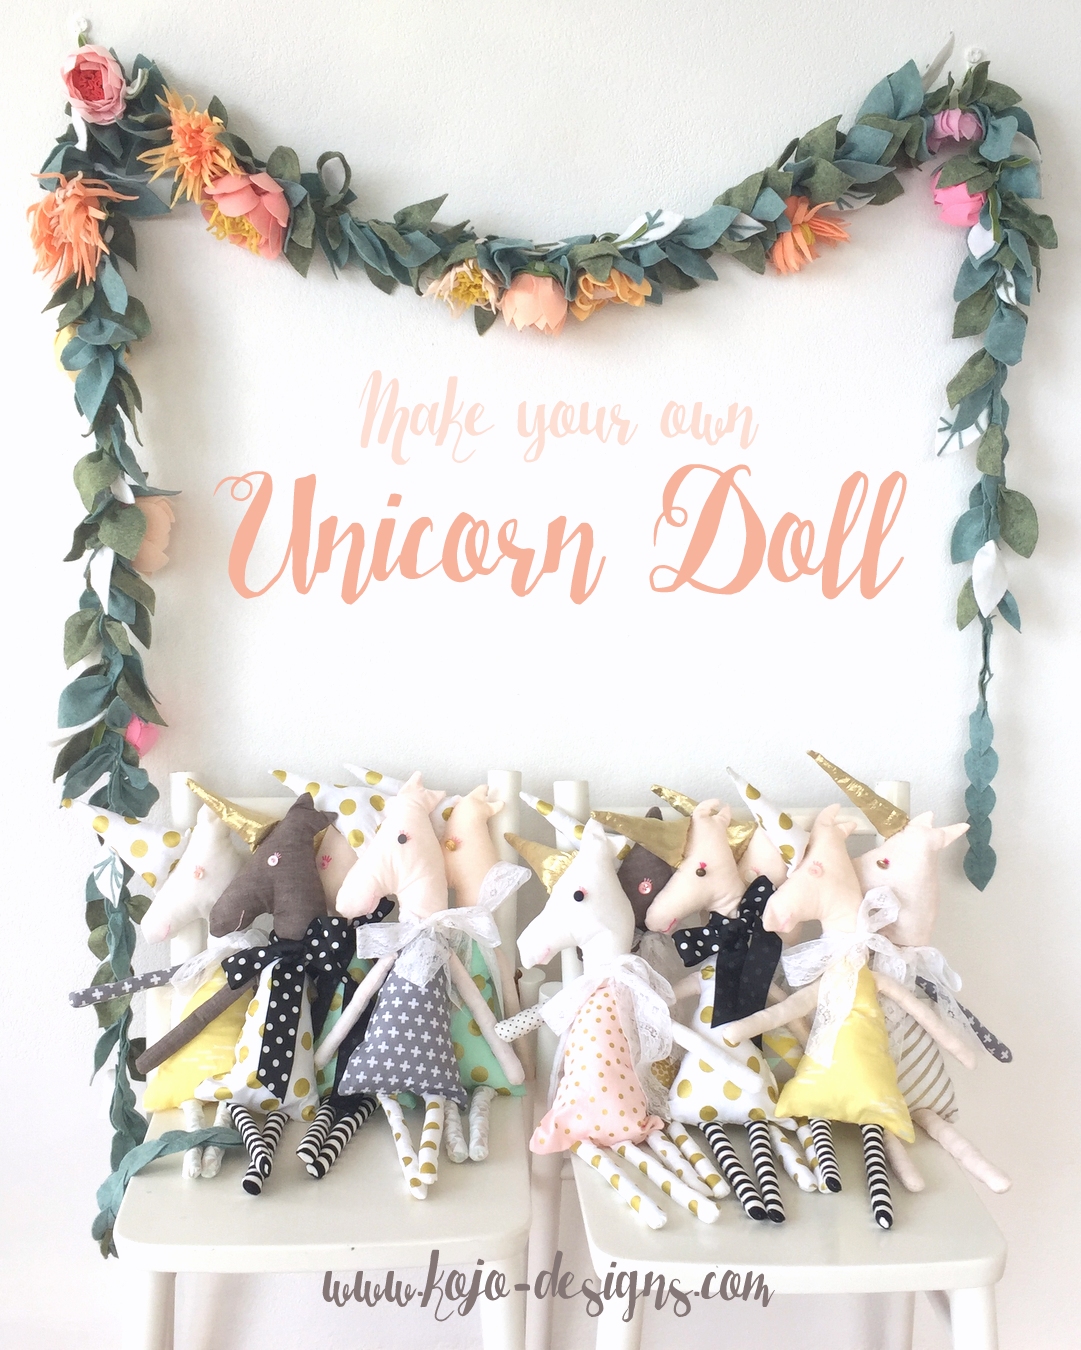
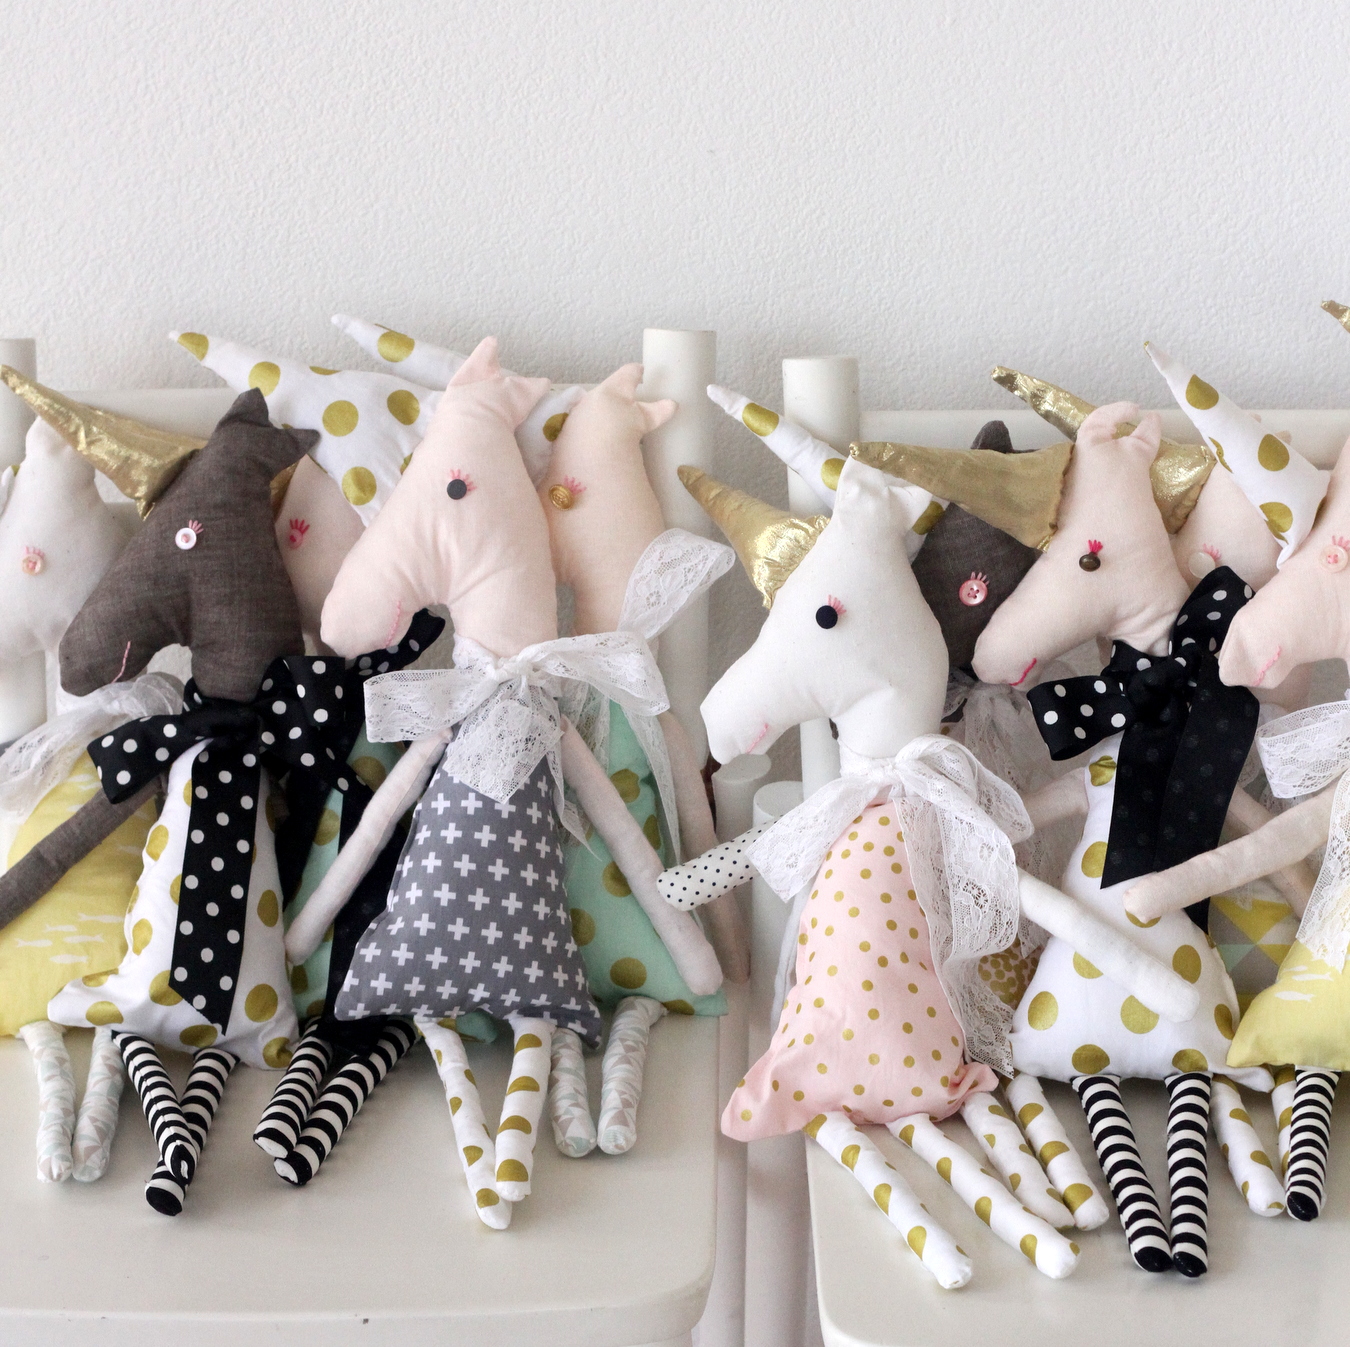
 One was an “Adopt a Unicorn” station. Pi helped me choose the fabric for each unicorn doll, and was beyond excited to give these party favors to her guests.
 Also, I got to make a pretty significant dent in my fabric stash. Which means I need to do some fabric shopping. Darn. *Update- already done. Tasks like “replenish fabric stash” get knocked off the to-do list quickly.*
 Since these are so very fun, and since unicorns are all the rage right now, I know some of you are needing to make a unicorn softie as well- haha! To make your doll, first print out the Unicorn Doll Pattern.
One note- to make the horn, it was easiest for me to just use the horn on the pattern as a marker/placement indicator and make separate gold horns. I cut out 8” x 3” rectangles of fabric, folded in half and cut from the middle ‘point’ to the outer diagonal corners. Then I sewed together the two vertical edges, leaving the bottom open to stuff. Set aside.
Then, cut out each unicorn doll piece with a half inch (or so) perimeter. Trace with a fabric pen onto your fabric (if you are making a contrasting horn, follow the directions above, if not, just trace the horn as a part of your ‘unicorn head’).
 Trace the mouth line with a fabric marker and embroider. Mark the spot for the eye and sew a button into that space (you can add little embroidered eyelashes if you want).
Sew the front ‘head’ to the front ‘body.’ Repeat with the back head and body pieces. Set aside.
 Place a pair of the arm pieces together, right sides facing each other, and sew around the perimeter except on the flat small bottom edge. Clip corners, turn right side in, press and stuff. Repeat with the other arm pieces and both pairs of leg pieces.
 Pin the horn, arms, and legs in place, sandwiched in between the head/body pieces (which are facing with their right sides towards each other. Sew around the entire perimeter, except for a 5” gap to pull everything right side in. Turn right side in, press, stuff, and stich up the gap.
 Done.
Done.
 Unicorn station here you come (well, after you make eight more of these gems- haha!). OR, and this would be my strong recommendation, just make one and make a special little girl extra happy!
MORE DIY UNICORN IDEAS-
The most beautiful gorgeous DIY felt flower garland
The cutest unicorn birthday party


Stop it right now. So darn adorable. And I love the idea of a half birthday…I feel bad that my July bane can’t celebrate at school!
on the adopt a unicorn station, on the wooden plank that says “adopt a” did you hand paint those flowers on it or are they decals or what? i need every detail 🙂
Haha, I love you Liz. It’s just flowers from rifle paper co. gift wrap, cut out and taped onto the wood. I got the gift wrap at PaperSource in Cherry Creek, I think. 😉
Where is the link to the pattern?? 🙂
Hey Kaila- it’s highlighted in pink now. 😉