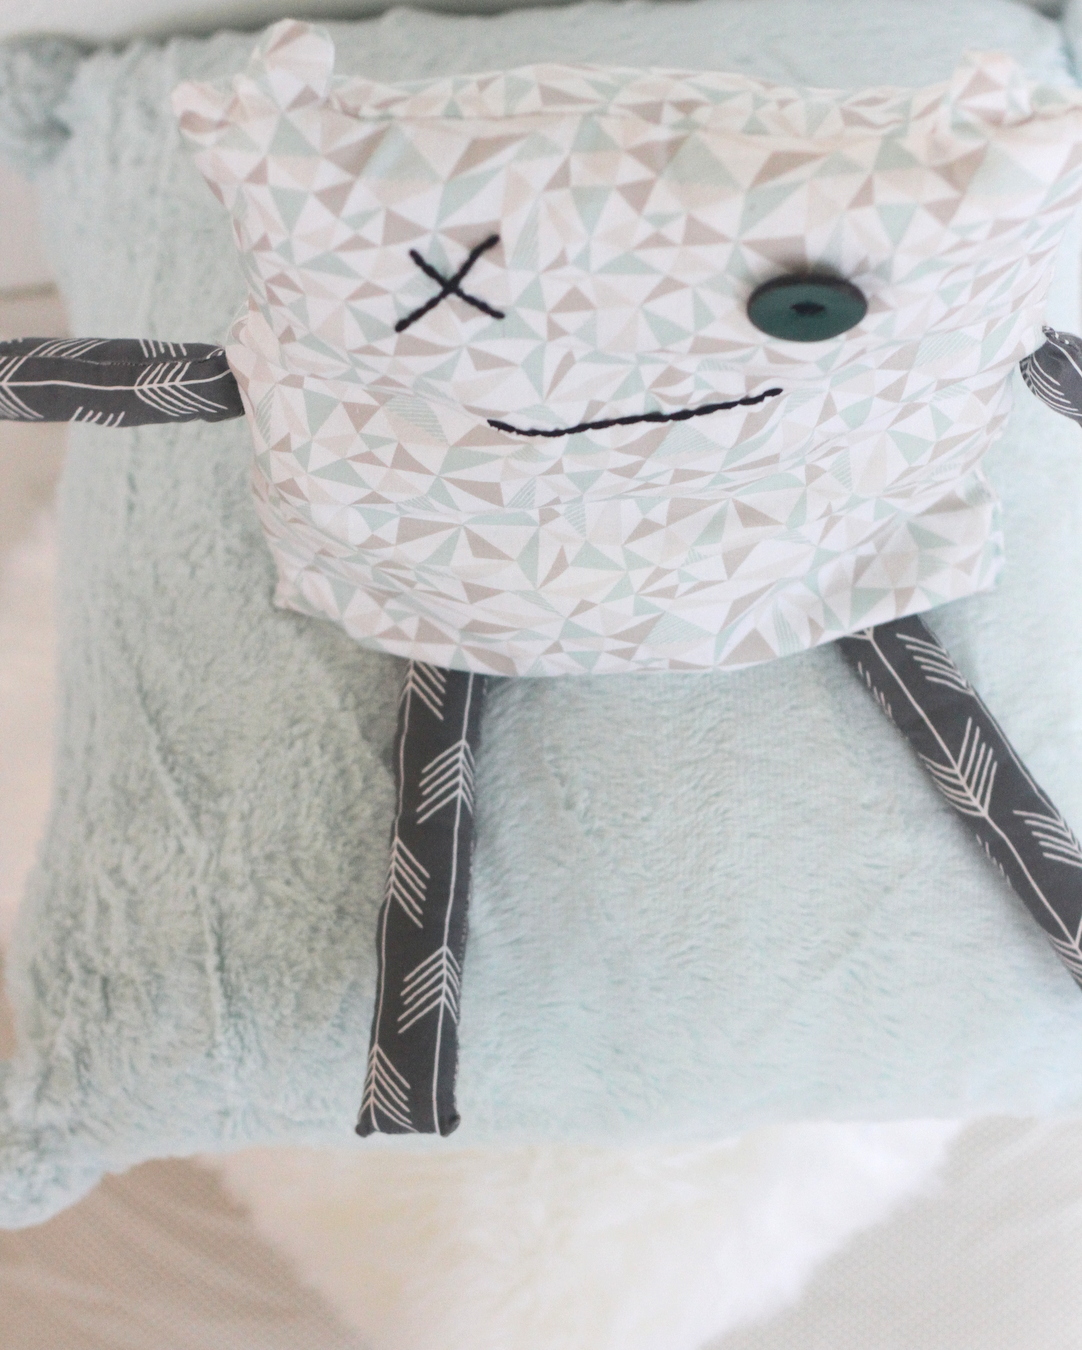
how to make a monster doll
As an Amazon Associate I earn from qualifying purchases.
 Sweet Burke. I make him a fraction of the projects that I make for Pi (dresses are just so fun to sew, darn it!).
 So when my sweet boy drew up his vision for a monster softie, I did everything in my power to make his vision come to life.
 I should sew for Burke more often- he was so excited about his stuffed monster and so appreciative of my efforts. I pretty much adore him.
 But back to monster softie- so fun (and so easy) to put together.
 I cut out a pile of rectangles- two 11” x 13” rectangles for the main body, four 2” x 5” rectangles for the arms and four 2” x 8” rectangles for the legs.
After cutting two little ears along the top edge of the main body pieces, embroidering a face on the front panel, I made the arms and legs by placing the paired rectangles of fabric together, right sides facing each other and sewing around the two long edges and one short edge. Then I turned right side and stuffed each arm and leg. I pinned each arm and leg in place, sandwiched between the main body pieces, sewed around the entire perimeter of the monster, except for a 5” gap that I used to turn the softie right side in. After stuffing, I stitched the opening shut .
 DONE. One happy little boy, plus a whole pile of drawings of potential next sewing projects. LOVE.
ps- We’re currently in NEW ZEALAND, loving the fall weather and the sheep and the crazy gorgeous scenery. If you want, follow along on instagram!


