how to make a lined modern baby romper
As an Amazon Associate I earn from qualifying purchases.

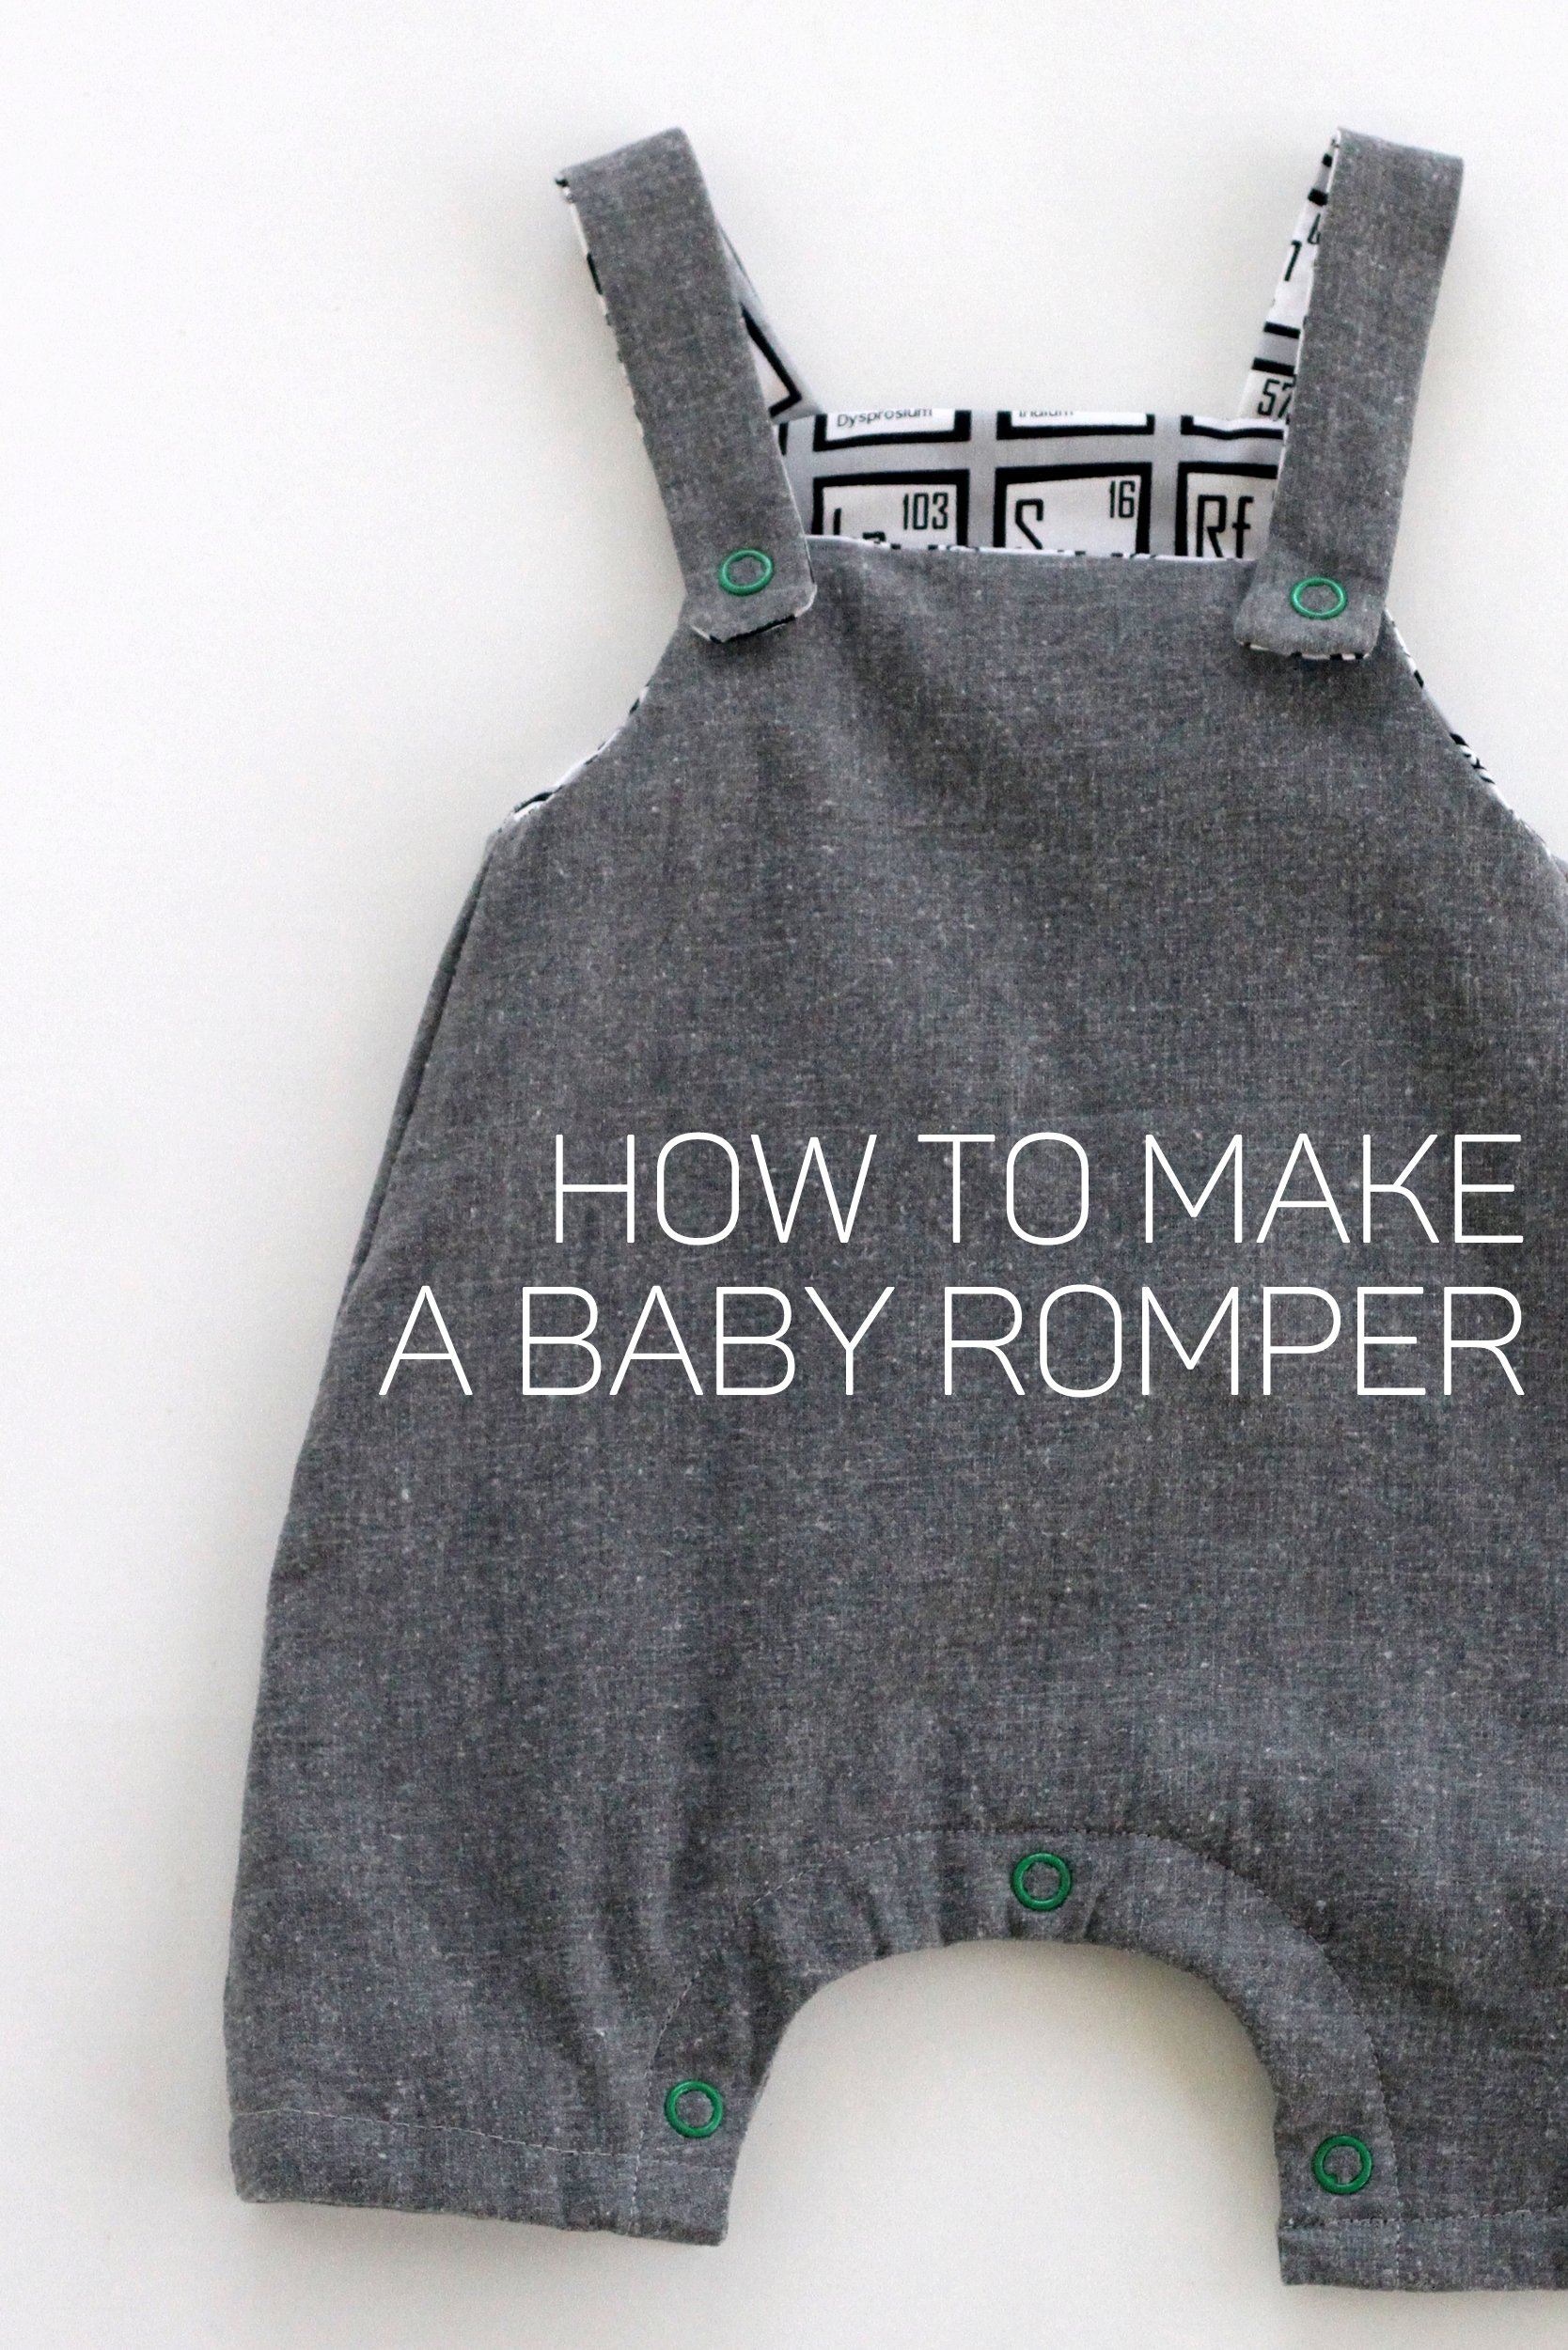
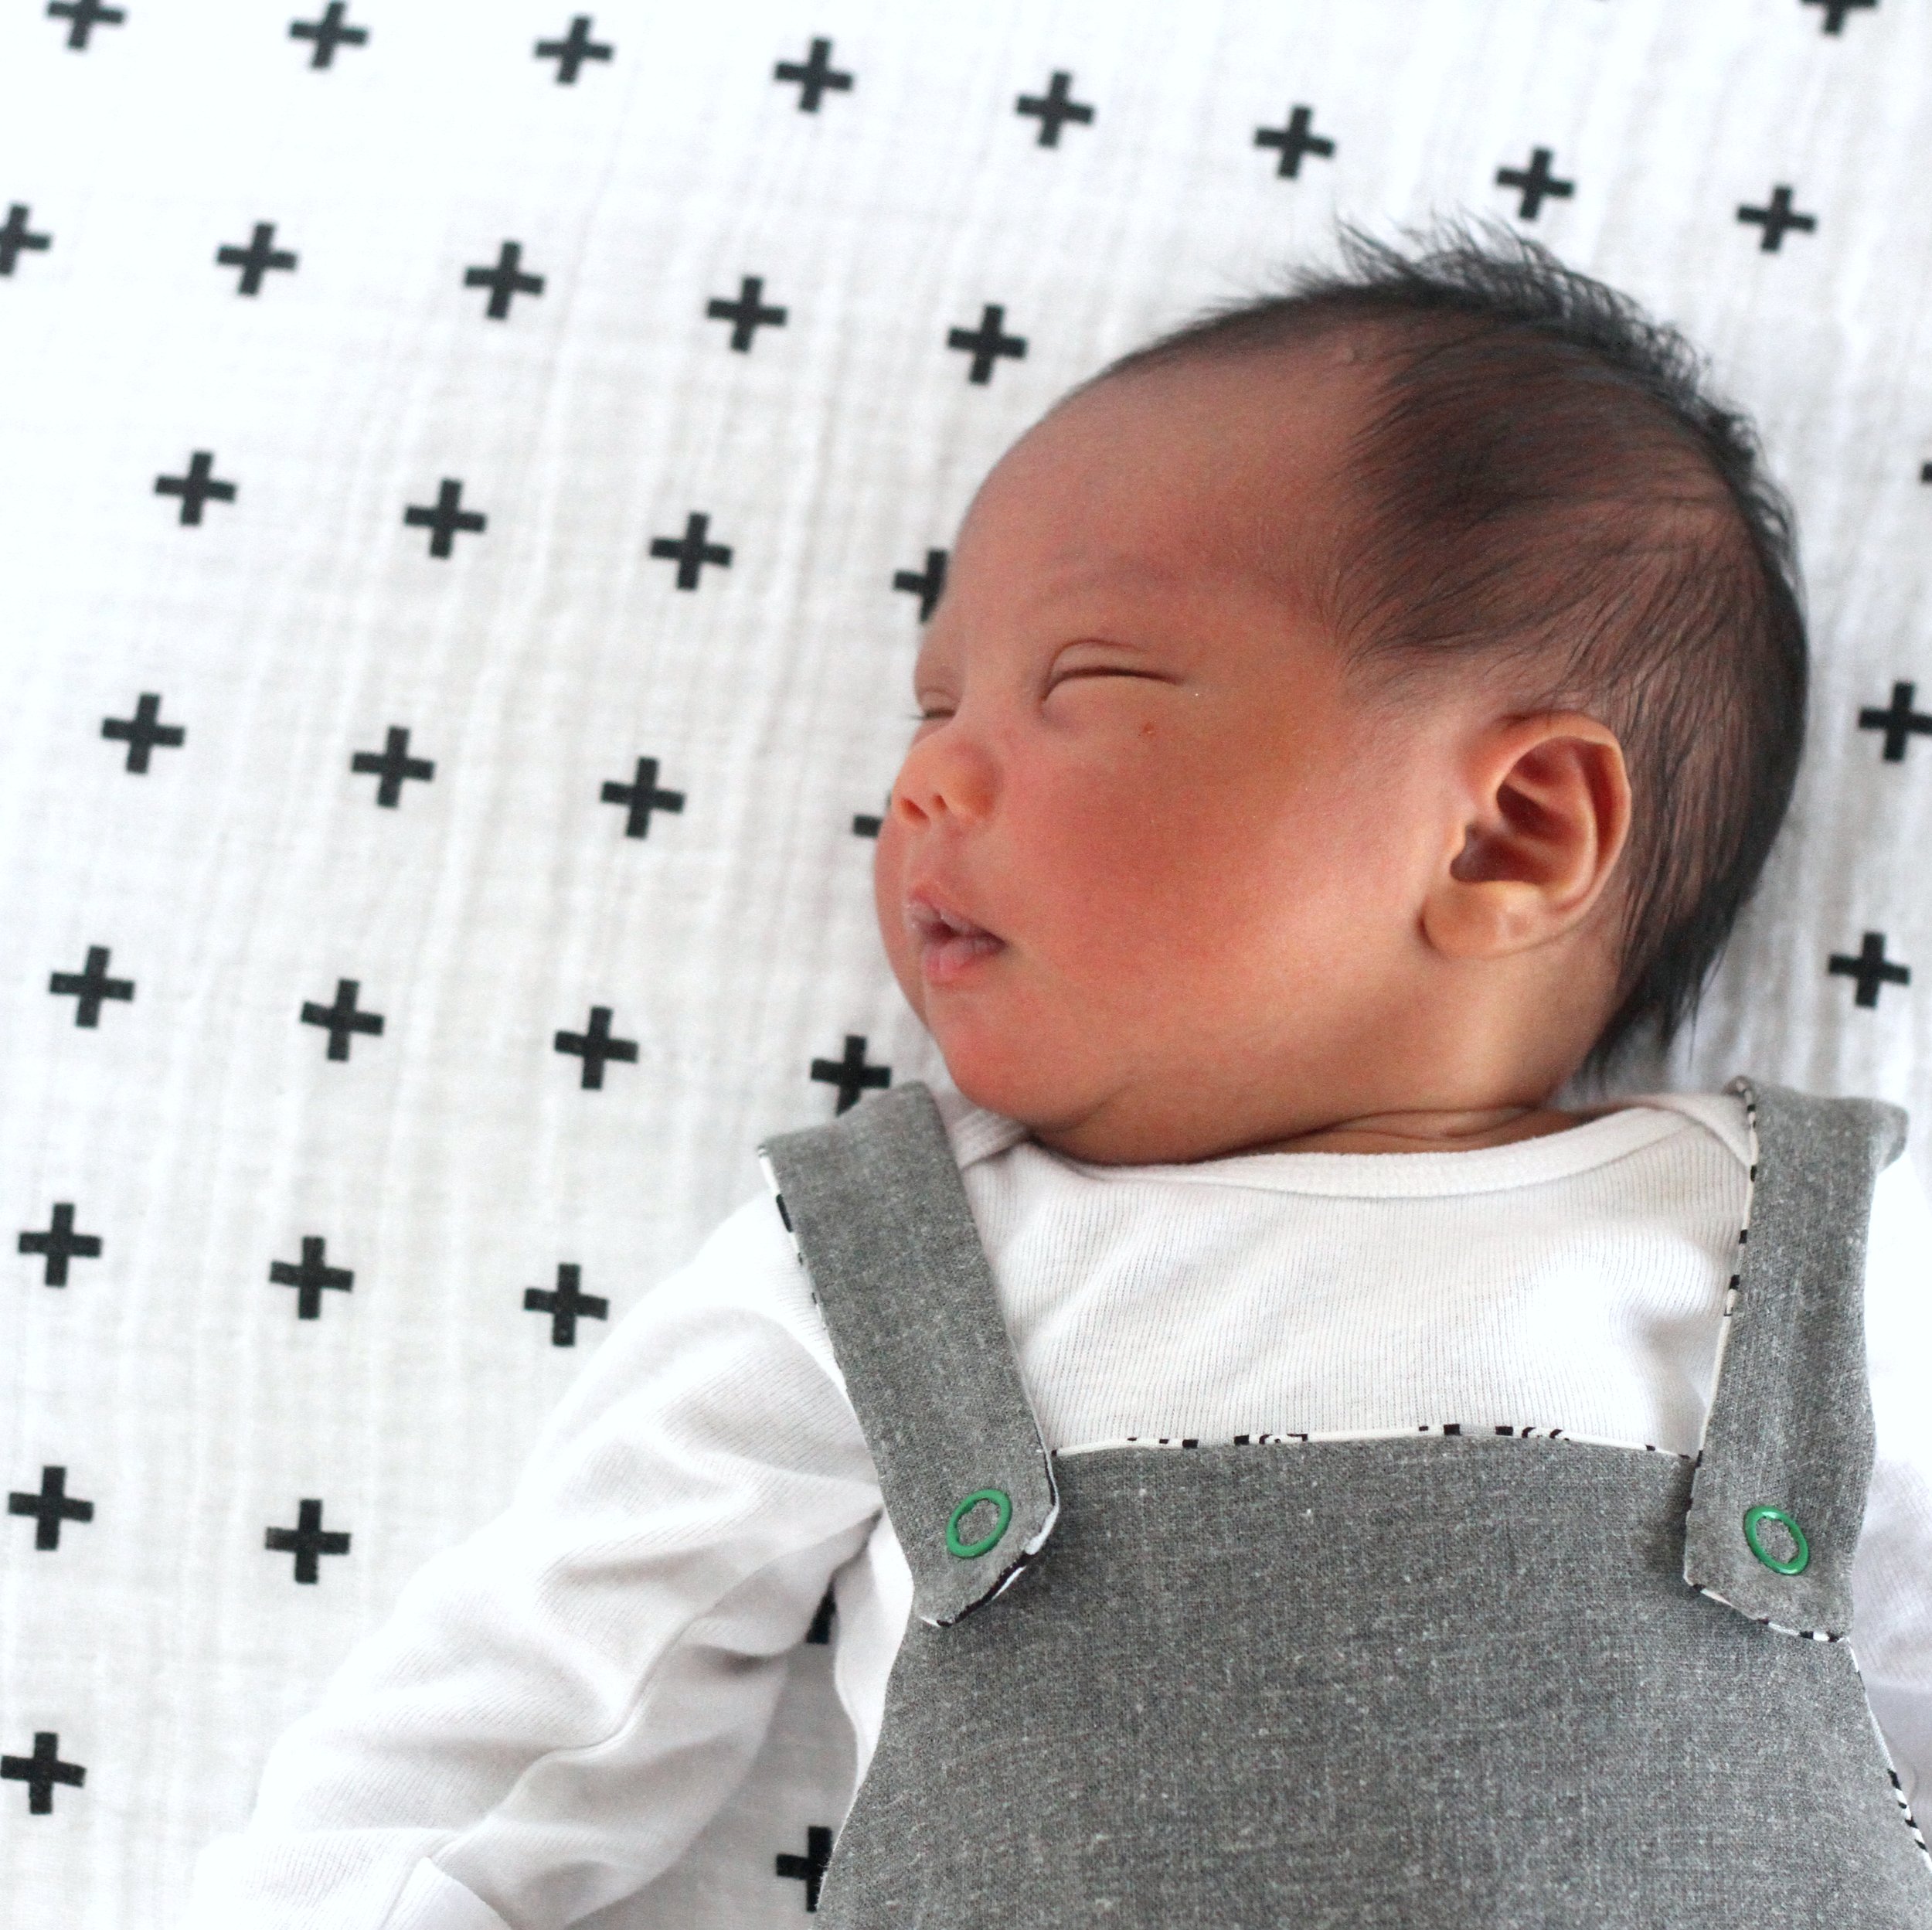
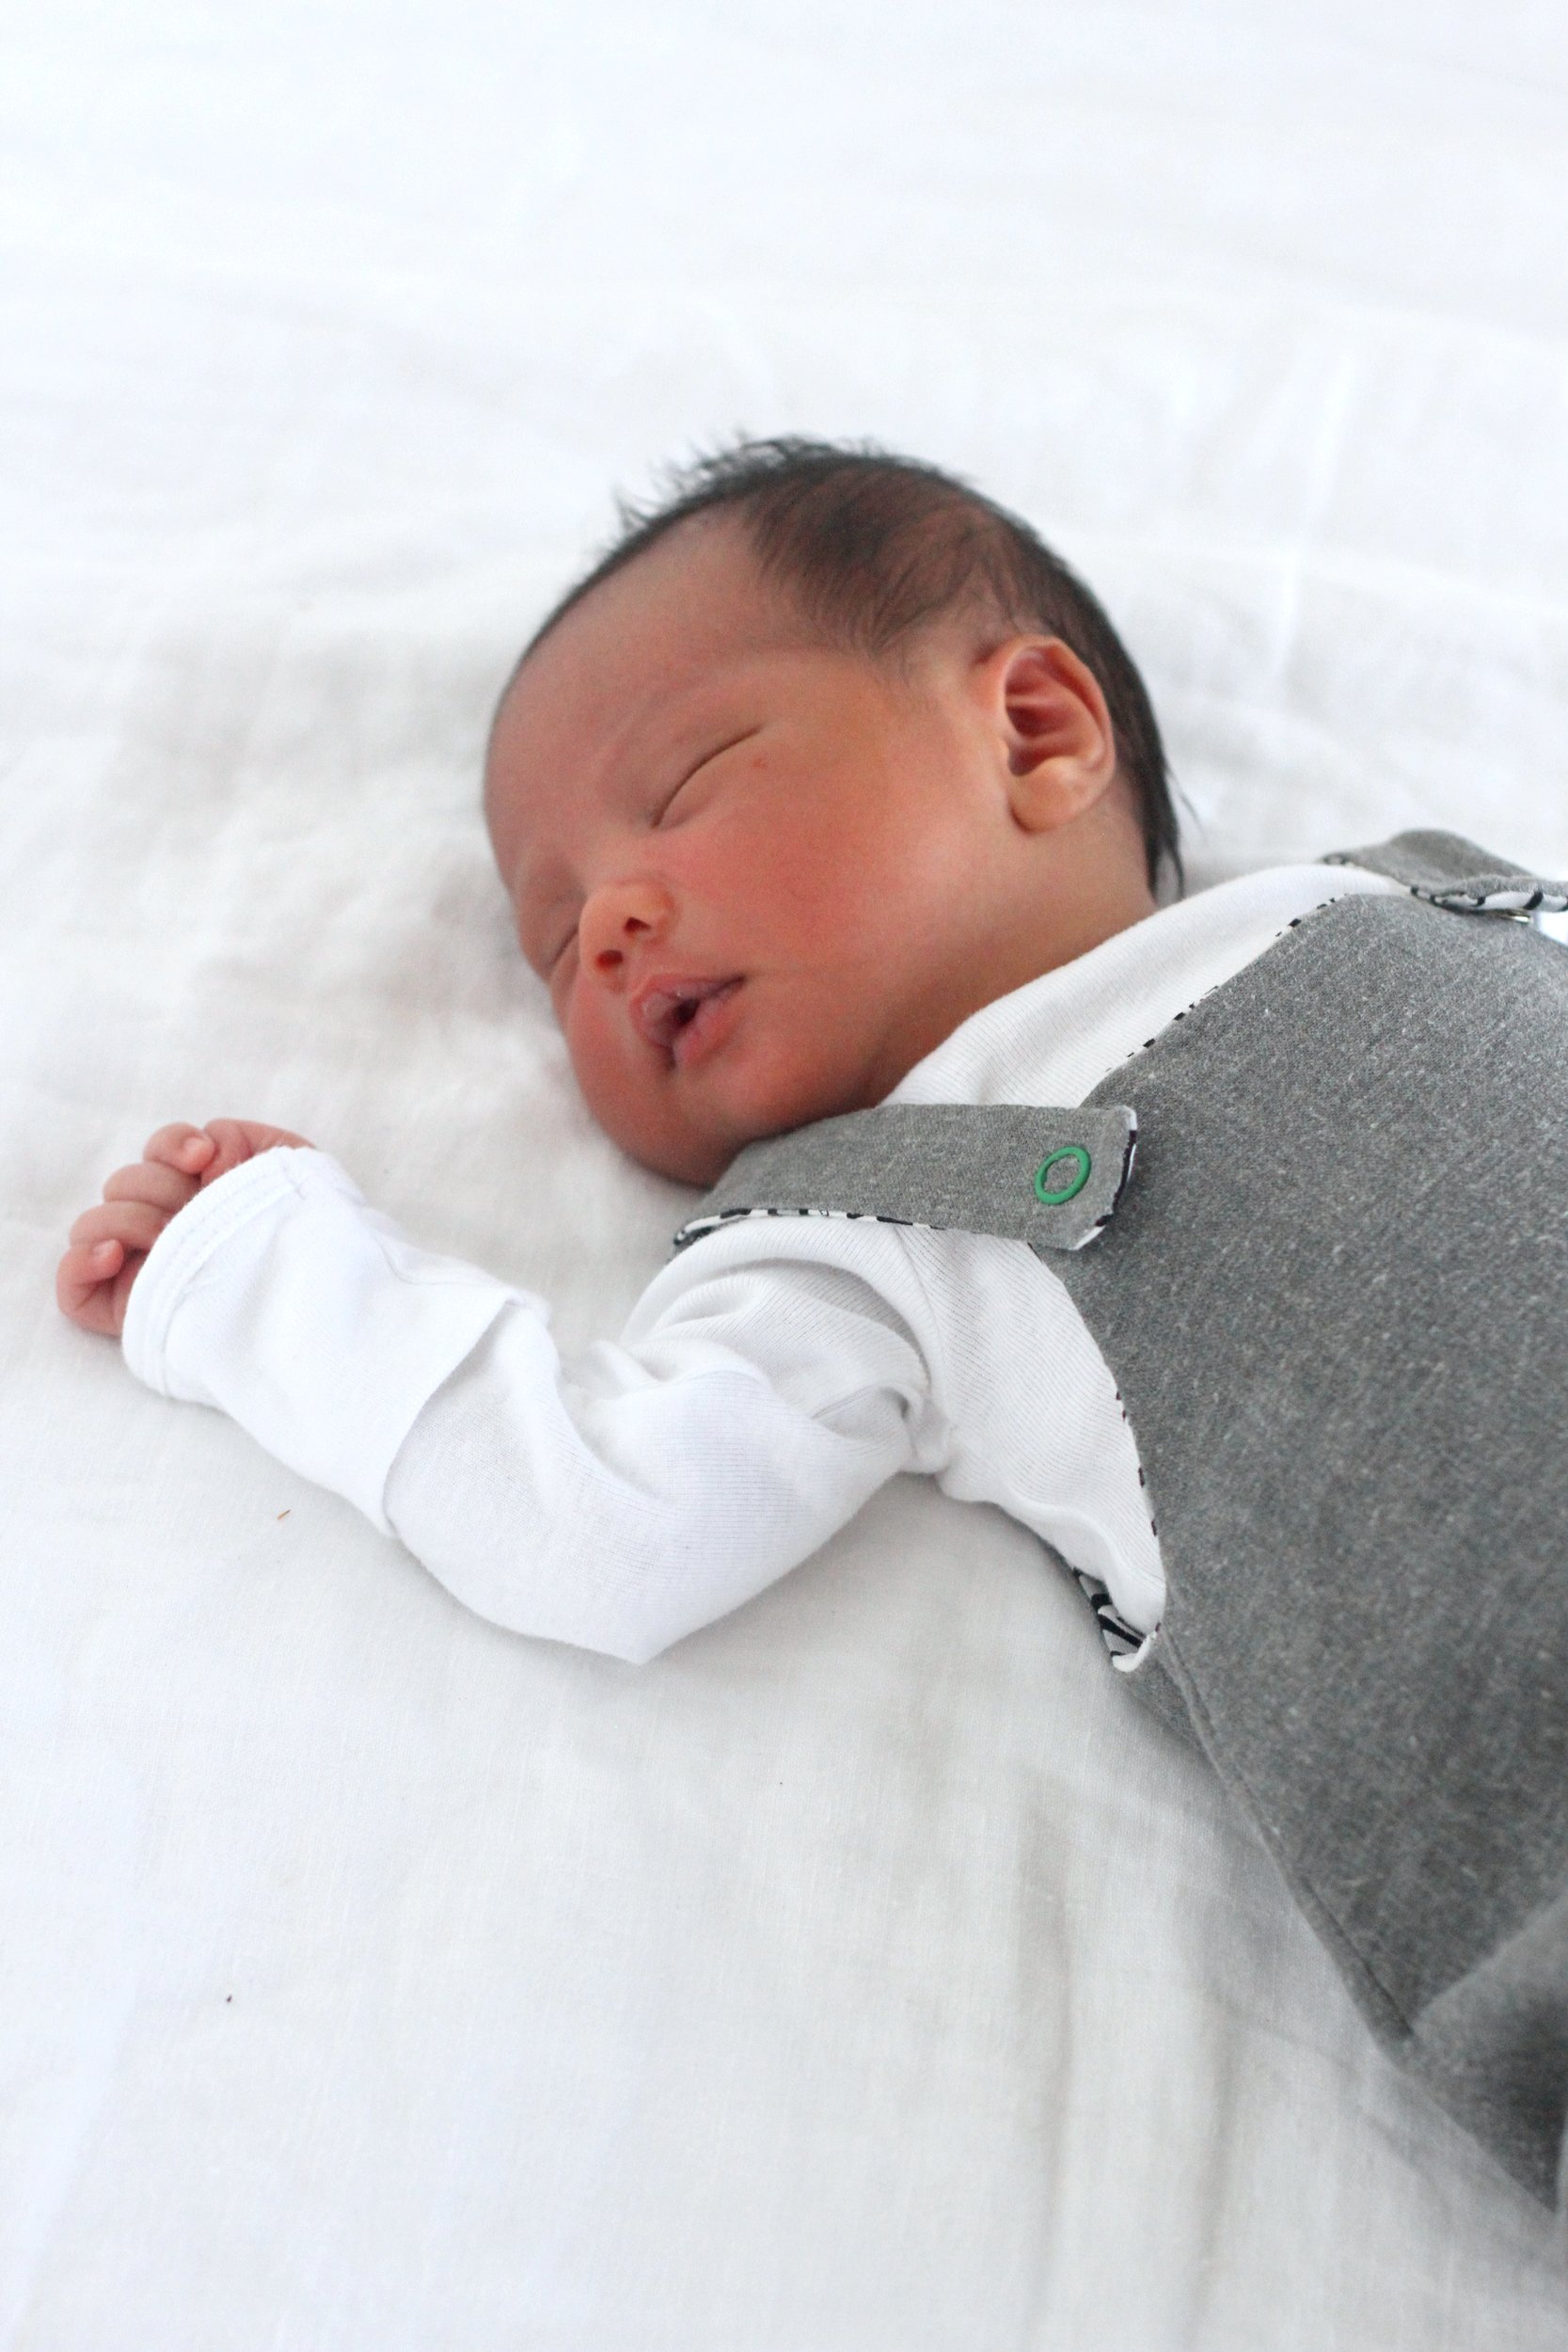
 Remember the cutest little modern baby romper I made for Bohden? I made a couple kinds of romper- the version I already shared, and also this fully lined version. This one would be perfect for fall and winter, and would make a PERFECT Christmas gift for a baby, so I thought I’d put up the tutorial for it as well!
GATHER-
Solid colored linen or linen blend (a yard will be plenty)
Lining fabric (I used the cheeky periodic table fabric and can’t find it anymore, but there are some science-y fabrics here and here… you also might have some luck on etsy finding that specific fabric)
Colored fabric snaps and a snap setter
INSTRUCTIONS-
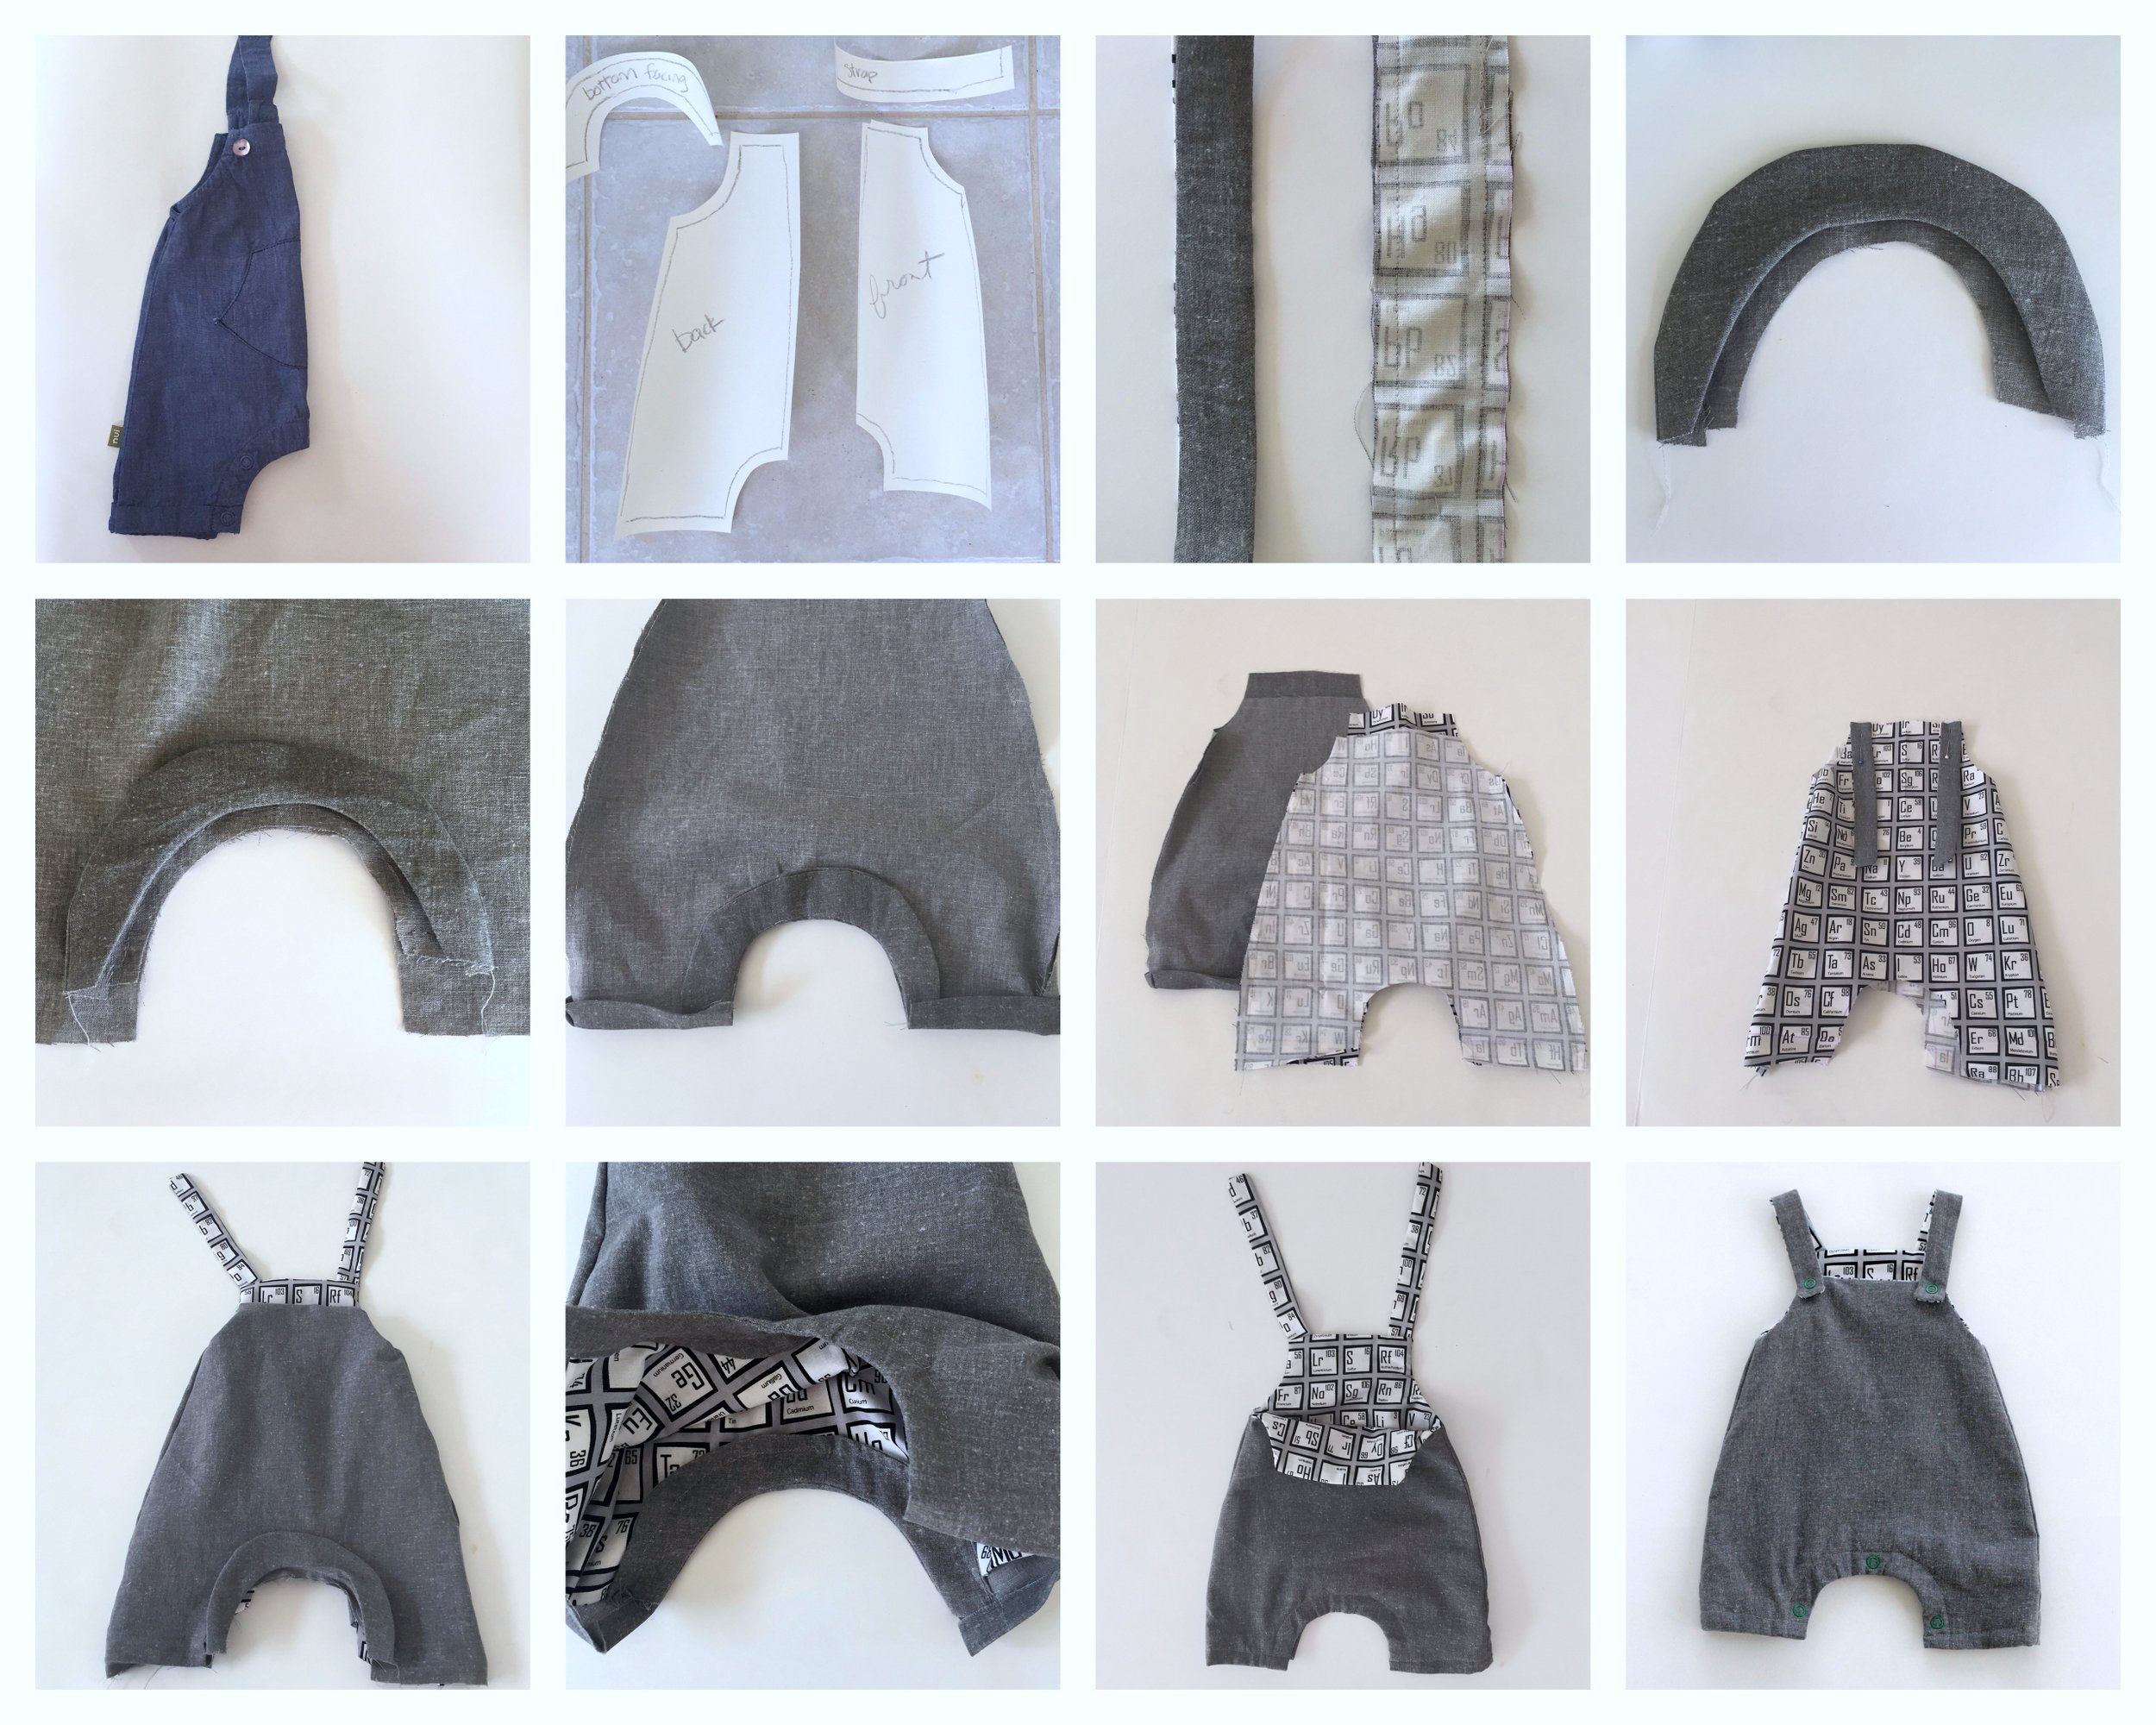
Trace an existing romper to make your pattern pieces (I used a Nui Organics one as my template). Fold and trace the front of the romper, the back of the romper, and the strap. Also, make a rainbow-shaped facing to add some weight to the crotch (so the fabric doesn’t rip when you add snaps). Leaving a perimeter of 1/2″ around everything except the center fold, cut out each pattern piece. Trace on fabric, leaving an extra inch or so at the bottom of the legs for cuffs. Cut out of the main fabric- one front piece, one back piece, two strap pieces and four bottom facing pieces. Cut out of the lining fabric- one front piece, one back piece, two strap pieces and two rainbow crotch pieces.
Stack the strap pieces together, right sides facing each other. Sew around three edges, leaving the bottom small edge open. Turn right side in and press.
Stack two of the bottom facing pieces together, right sides facing each other. Sew along the outer perimeter. Flip over to the finished side and press in place. Turn one of the facing pieces under 1/2″ and press under.
Place the finished bottom facing on top of the front piece, matching right sides at the crotch. Sew together, being careful not to catch the pressed under side. Repeat with the back piece and the other bottom facing.
Stack the front lining piece and back lining piece, right sides facing each other. Sew up the sides. Repeat with the front and back main pieces.
Turn lining piece right side in. Pin the straps along the top of the back side, matching the lining side of the straps to the romper lining.
Leaving the main romper inside out, pull it up around the outside of the lining, matching the tops of the fronts and the tops of the backs, right sides touching and straps wedged in between the back pieces. Sew along the top edge, both arm holes and the back side.
Turn right side in. Tuck the lining pieces from the front and the back under the bottom facing and sew in place, catching the raw edge of the lining piece under the facing. Fold the bottom edge of the lining piece under so the raw edge of the leg is no longer visible.
Hem the bottom of each leg.
Add snaps on each strap, the two corners of the front of the romper and the bottom casing.
 Lined baby romper gorgeousness = done!
 (If you want to make an unlined version of this baby romper, the directions are here!)


This romper is so super cute! I just love the fabric choices you picked and how it is easy to customize it to one’s one taste.
Thanks Scarlet! I love that part too- super easy to customize to your taste!
How is the fit of this? The photos of baby in it are adorable but seem to be cropped to exclude the bottom portion?
Hey Sue! He was such a darling baby, right!?! (He’s still the cutest three year old- ha!)
In the original post, you can see the fit at the bottom (http://www.kojo-designs.com/2018/04/diy-modern-baby-romper/). Hope that helps!